%[https://youtu.be/Gx4eqU-oDL8]
We're entering a new era in the Ruby world, there are no doubts about that! It's all because really soon a completely rewritten Hanami framework will have its next major release!
In this episode, I'll show you how to quickly start with a new Hanami project. I'll create a brand new Hanami application using the prepared Hanami Application Template.
Upcoming CLI updates!
This article shows how to create Hanami 2 project using Temporary repository, which soon will be replaced by the neat CLI application and code generators!
The quick setup
Even though at the time of recording this video the CLI for Hanami 2 is not yet finished, It's super easy to set up a new project thanks to this template, and with the Hanami team working hard on the CLI, things will soon be even easier.
At the moment the process consists of 4 simple steps, but before we'll dive into it, let's quickly mention the steps required to launch the app.
- Clone the repository
- Run bundler
- Run the installation script
- Rename example .env file
I'll cover them all in the article below
TLDR (full script here)
g clone git@github.com:hanami/hanami-2-application-template.git sandbox
cd sandbox
bin/install sandbox
bundle install
cp .env-example .env.development
bundle exec puma config.ru
To work with this setup, you'll need to have ruby language and SQLite database installed on your machine.
There are several ways to do so, especially to install Ruby - there are even graphical installers available for various systems, but for me, the easiest way to work with ruby and its multiple versions is by using the ruby version manager, in my case RVM - but it's just my personal choice.
Then when it comes to SQLite we can just use the bundler to install the ruby gem that takes of that.
1. Cloning the repository
First of all, I need to create a new Hanami project by cloning the template repository into a customized named folder of my application. In the terminal, I'll paste the git clone command adding sandbox as a project name.
g clone git@github.com:hanami/hanami-2-application-template.git sandbox
cd sandbox
2. Install dependencies
To install dependencies, we need to run bundler as in any other ruby application
bundle install
2. Running the installer
Next, run the installation script appending the command with your app name to rename all the default instances to your customized application name.
bin/install sandbox
This will rename all the occurrences of the default AppPrototypeTest with the sandbox in this case.
The output says, that "the application is ready to be run", but we need to apply the proper configuration yet.
4. Rename the sample .env file
Hanami application template with the default configuration can be run using just a normal puma api, with usual port specification and other options.
bundle exec puma config.ru
However, if I'll run the project now, it'll crash saying that the database URL configuration is missing.
This is strictly related to missing required key in the settings, which is managed by dry-configurable). I'm sure that these error messages will be improved in the near future.
Detailed dry-configurable guide
You can check the dry-configurable episode for more details about how the dry-configurable gem, and so Hanami settings work.
But for now, to fix it, we need the environment file collecting all the initial settings for our application to be run in different environments. The template already comes with an example env file, named .env-example . I need to copy it under the: .env.development. Please notice that dash in the middle had been changed to a dot.
cp .env-example .env.development
In this file you have the DATABASE_URL already set, pointing to an SQLite file stored in the DB folder.
When We'll rename the file, the ENV file will be picked-up by the Hanami settings object and exposed to the application. If you're looking for an example of a complete settings, check out episode #12!
Run the server
Now finally we can start our application which will be accessible at localhost on port 3000.
bundle exec puma config.ru
Yaay! You can see the "Welcome to, sandbox!" message.
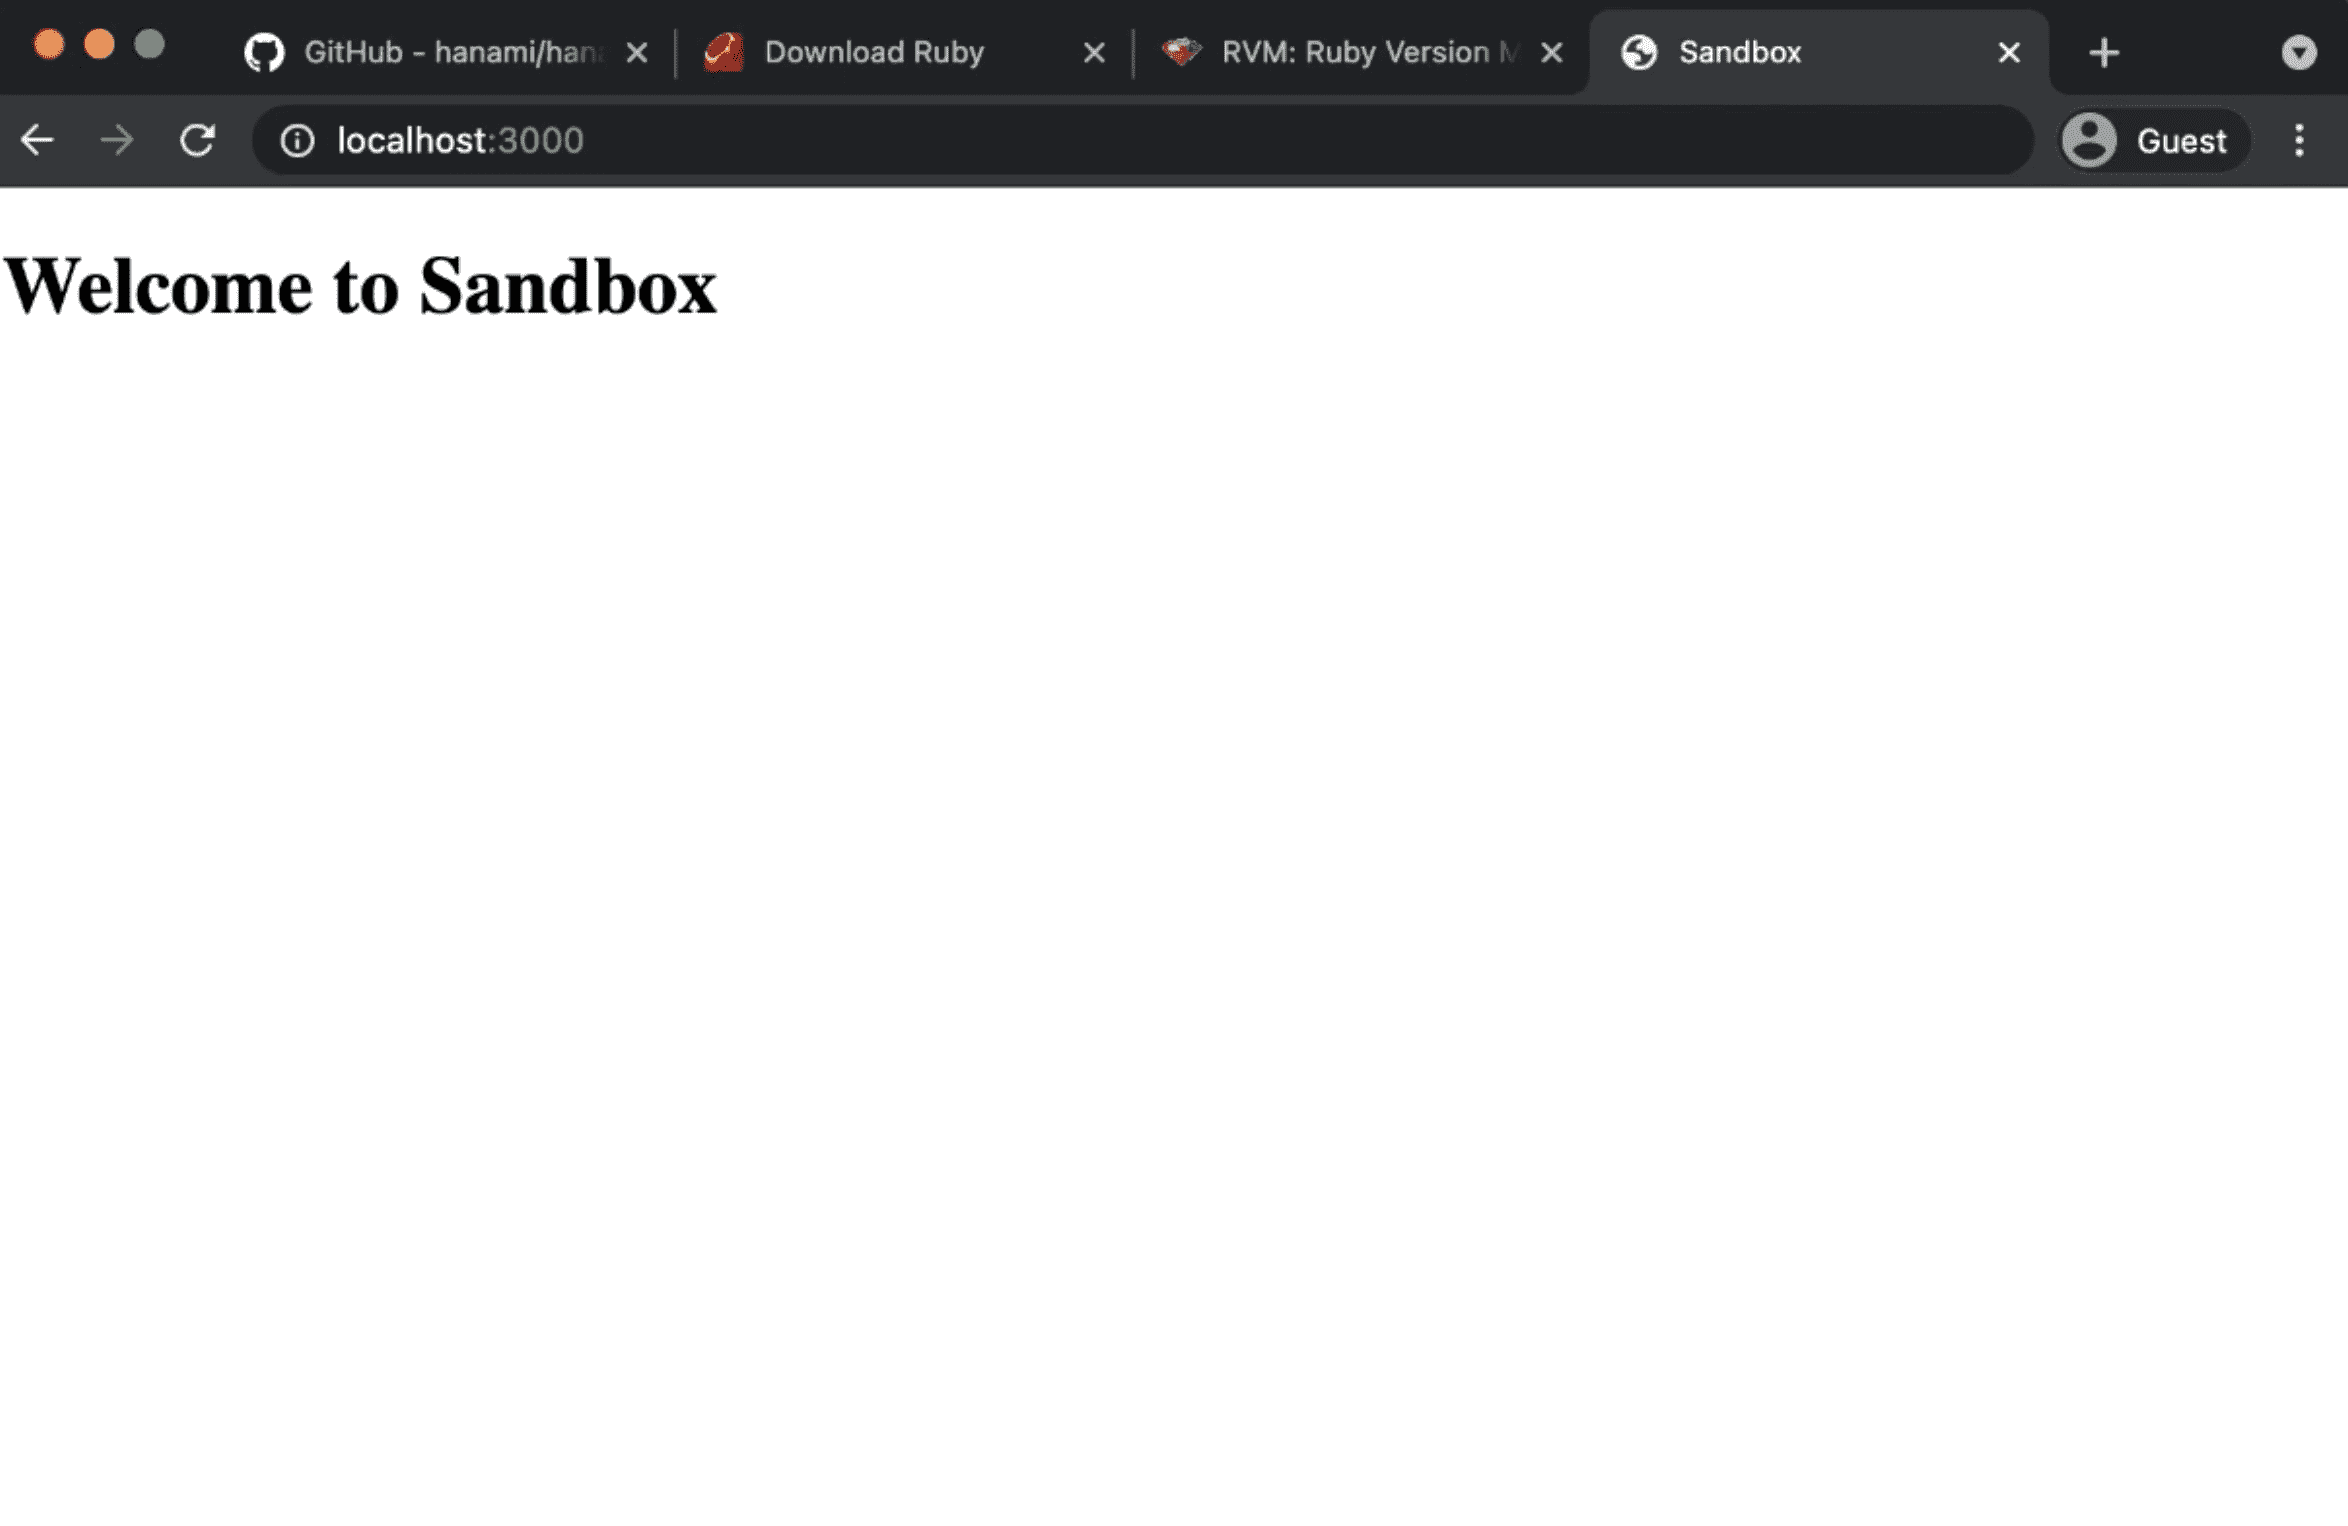 Hanami Welcome Message screen
Let's change it quickly to render a different text. To do it, we need to visit the home template in the application slice named main and change the text to Hello, Hanami!.
# /slices/main/web/templates/home/show.html.slim

h1 Hello, Hanami!
Now I'll restart the server and in the browser, we can see the updated text. Amazing!
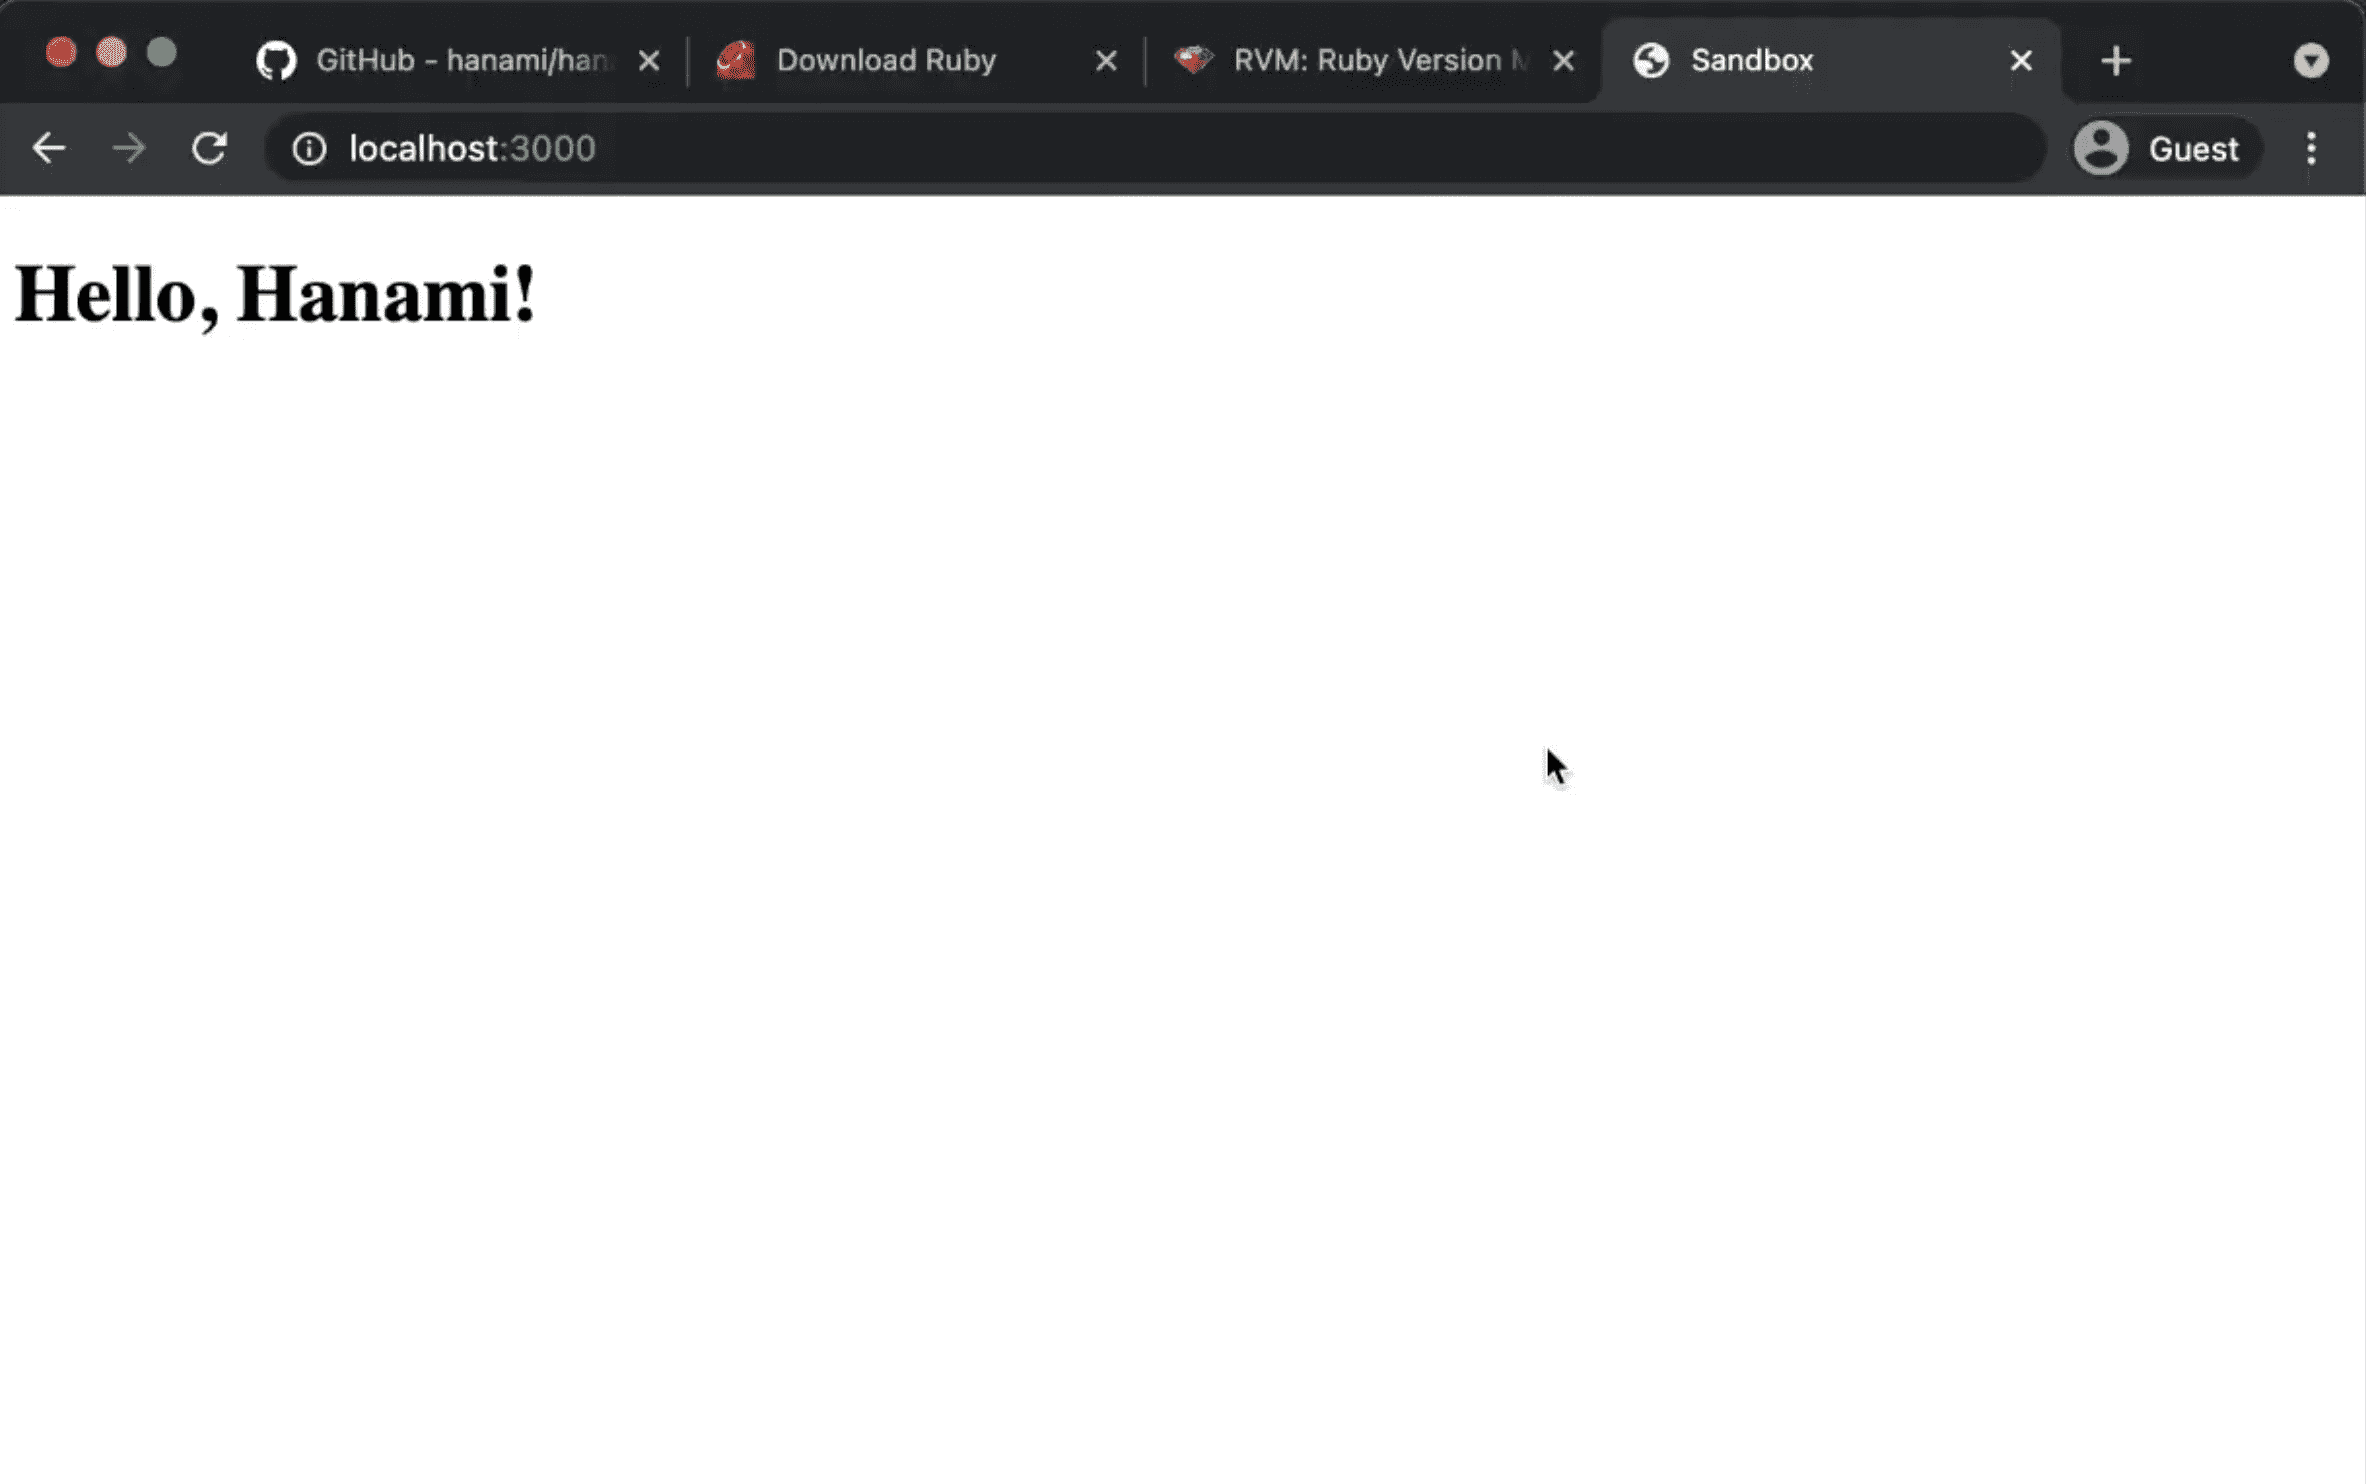 Updated Hanami Welcome screen
Summary
I love how Rails made it super-easy to start with a new project and deliver MVPs to the clients. Amazing CLI, file generators, all that is perfect for beginners.
Unfortunately, when apps grow, Rails default architecture becomes problematic.
Hanami solves that issue, and with all the amazing progress on simplifying the initial usage, I believe it has a bright future!
Special thanks!
- Sven Schwyn for supporting my channel, really appreciated!
- Piotr Solnica (Solnic) - for his great work on dry-rb ecosystem which made Hanami project possible.
- Tim Riley - For his amazing engagement in rewriting the framework almost from scratch!
- Luca Guidi - For tremendous work on whole Hanami development.
- And All the people engaged in the Hanami project, thanks to whom I have a topic to write about.
Become an awesome subscriber!
If you want to see more content in this fashion, Subscribe to my YT channel, Newsletter and follow me on Twitter!
Add your suggestion to our discussion panel!
I'll gladly cover them in the future episodes! Thank you!