When I've first discovered React, one of the best things I've found was the extremely powerful free hosting providers, that allow you to deploy applications with zero config.
Vercel is just a one example, that builds your app based on the config file or predefined defaults, and allow to spin-up preview for each branch or pull request in no time.
I've started my Hanami Mastery in NextJS mostly due to this possibilities.
You just push a NextJS repository to Github, and magic happens. However, if you want to customize the configuration a bit, all you need to do, is to write a single YAML configuration file and you're ready to go.
The end of Heroku
In Ruby ecosystem, the best we had so far, was Heroku. It was super useful to play with sandbox projects, however, as Heroku had shut down their free tier, to experiment with POC or snadbox project, we needed to look for alternatives.
In this episode, we're going to deploy a Hanami application to Render.
Deploying to Render
Render is a super convienient tool to manage your hosted applications, and I've certainly failed in love with it since day one.
I already have the official Hanami application integrated with it, which I'm writing together with my Hanami Mastery PRO subscribers. Consider subscribing if you are interested in learning to write real-life Hanami-based project and some premium episode content. But let's back to the topic.
Creating application in Render.
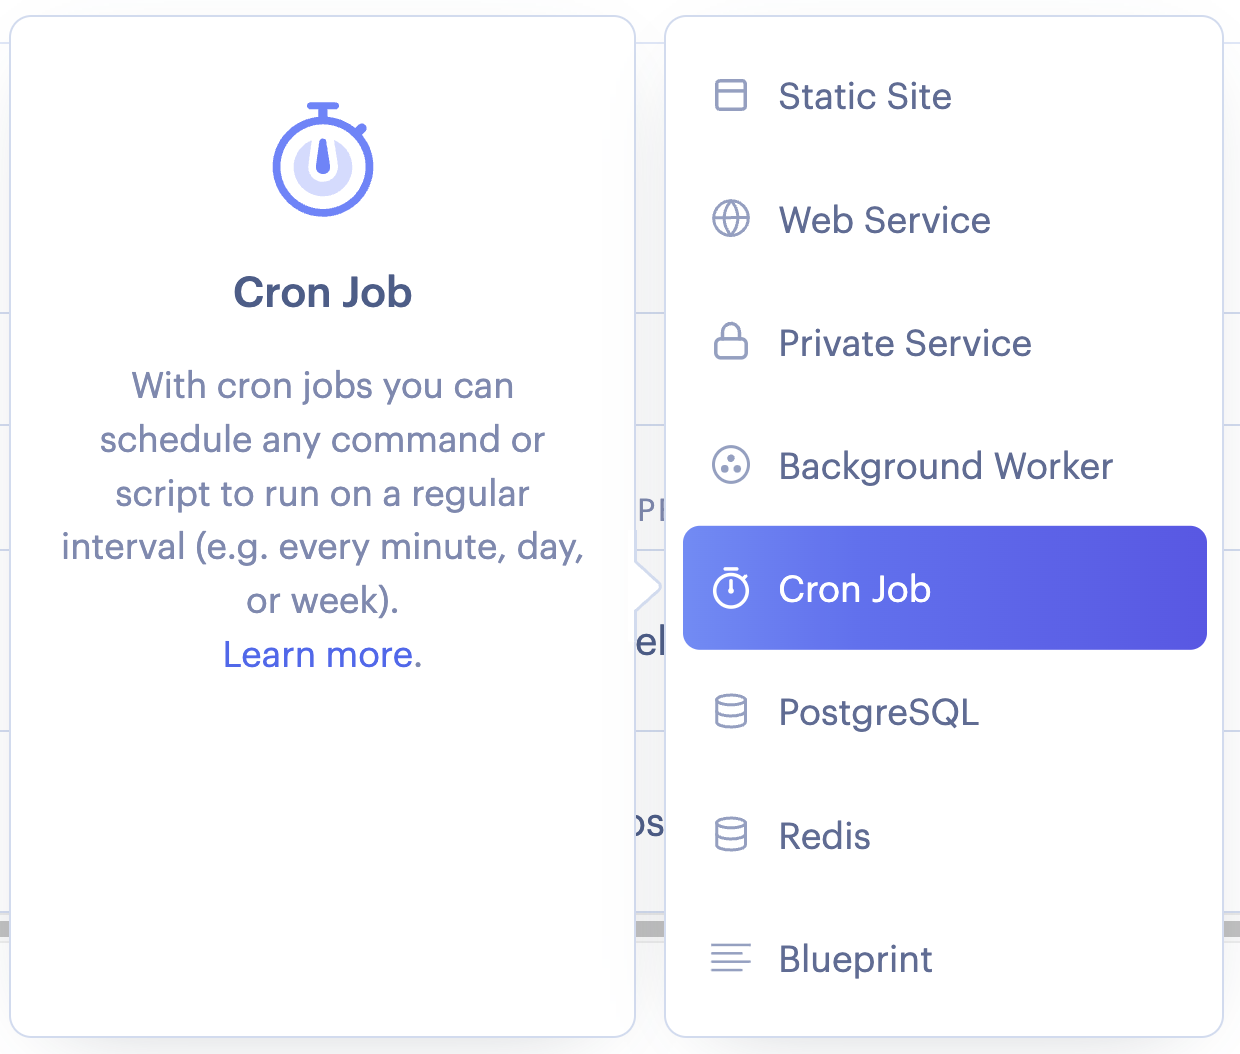
To add a new project to render, you can choose from the dropdown here all the required services you want and just provide connection details later in your environment variables.

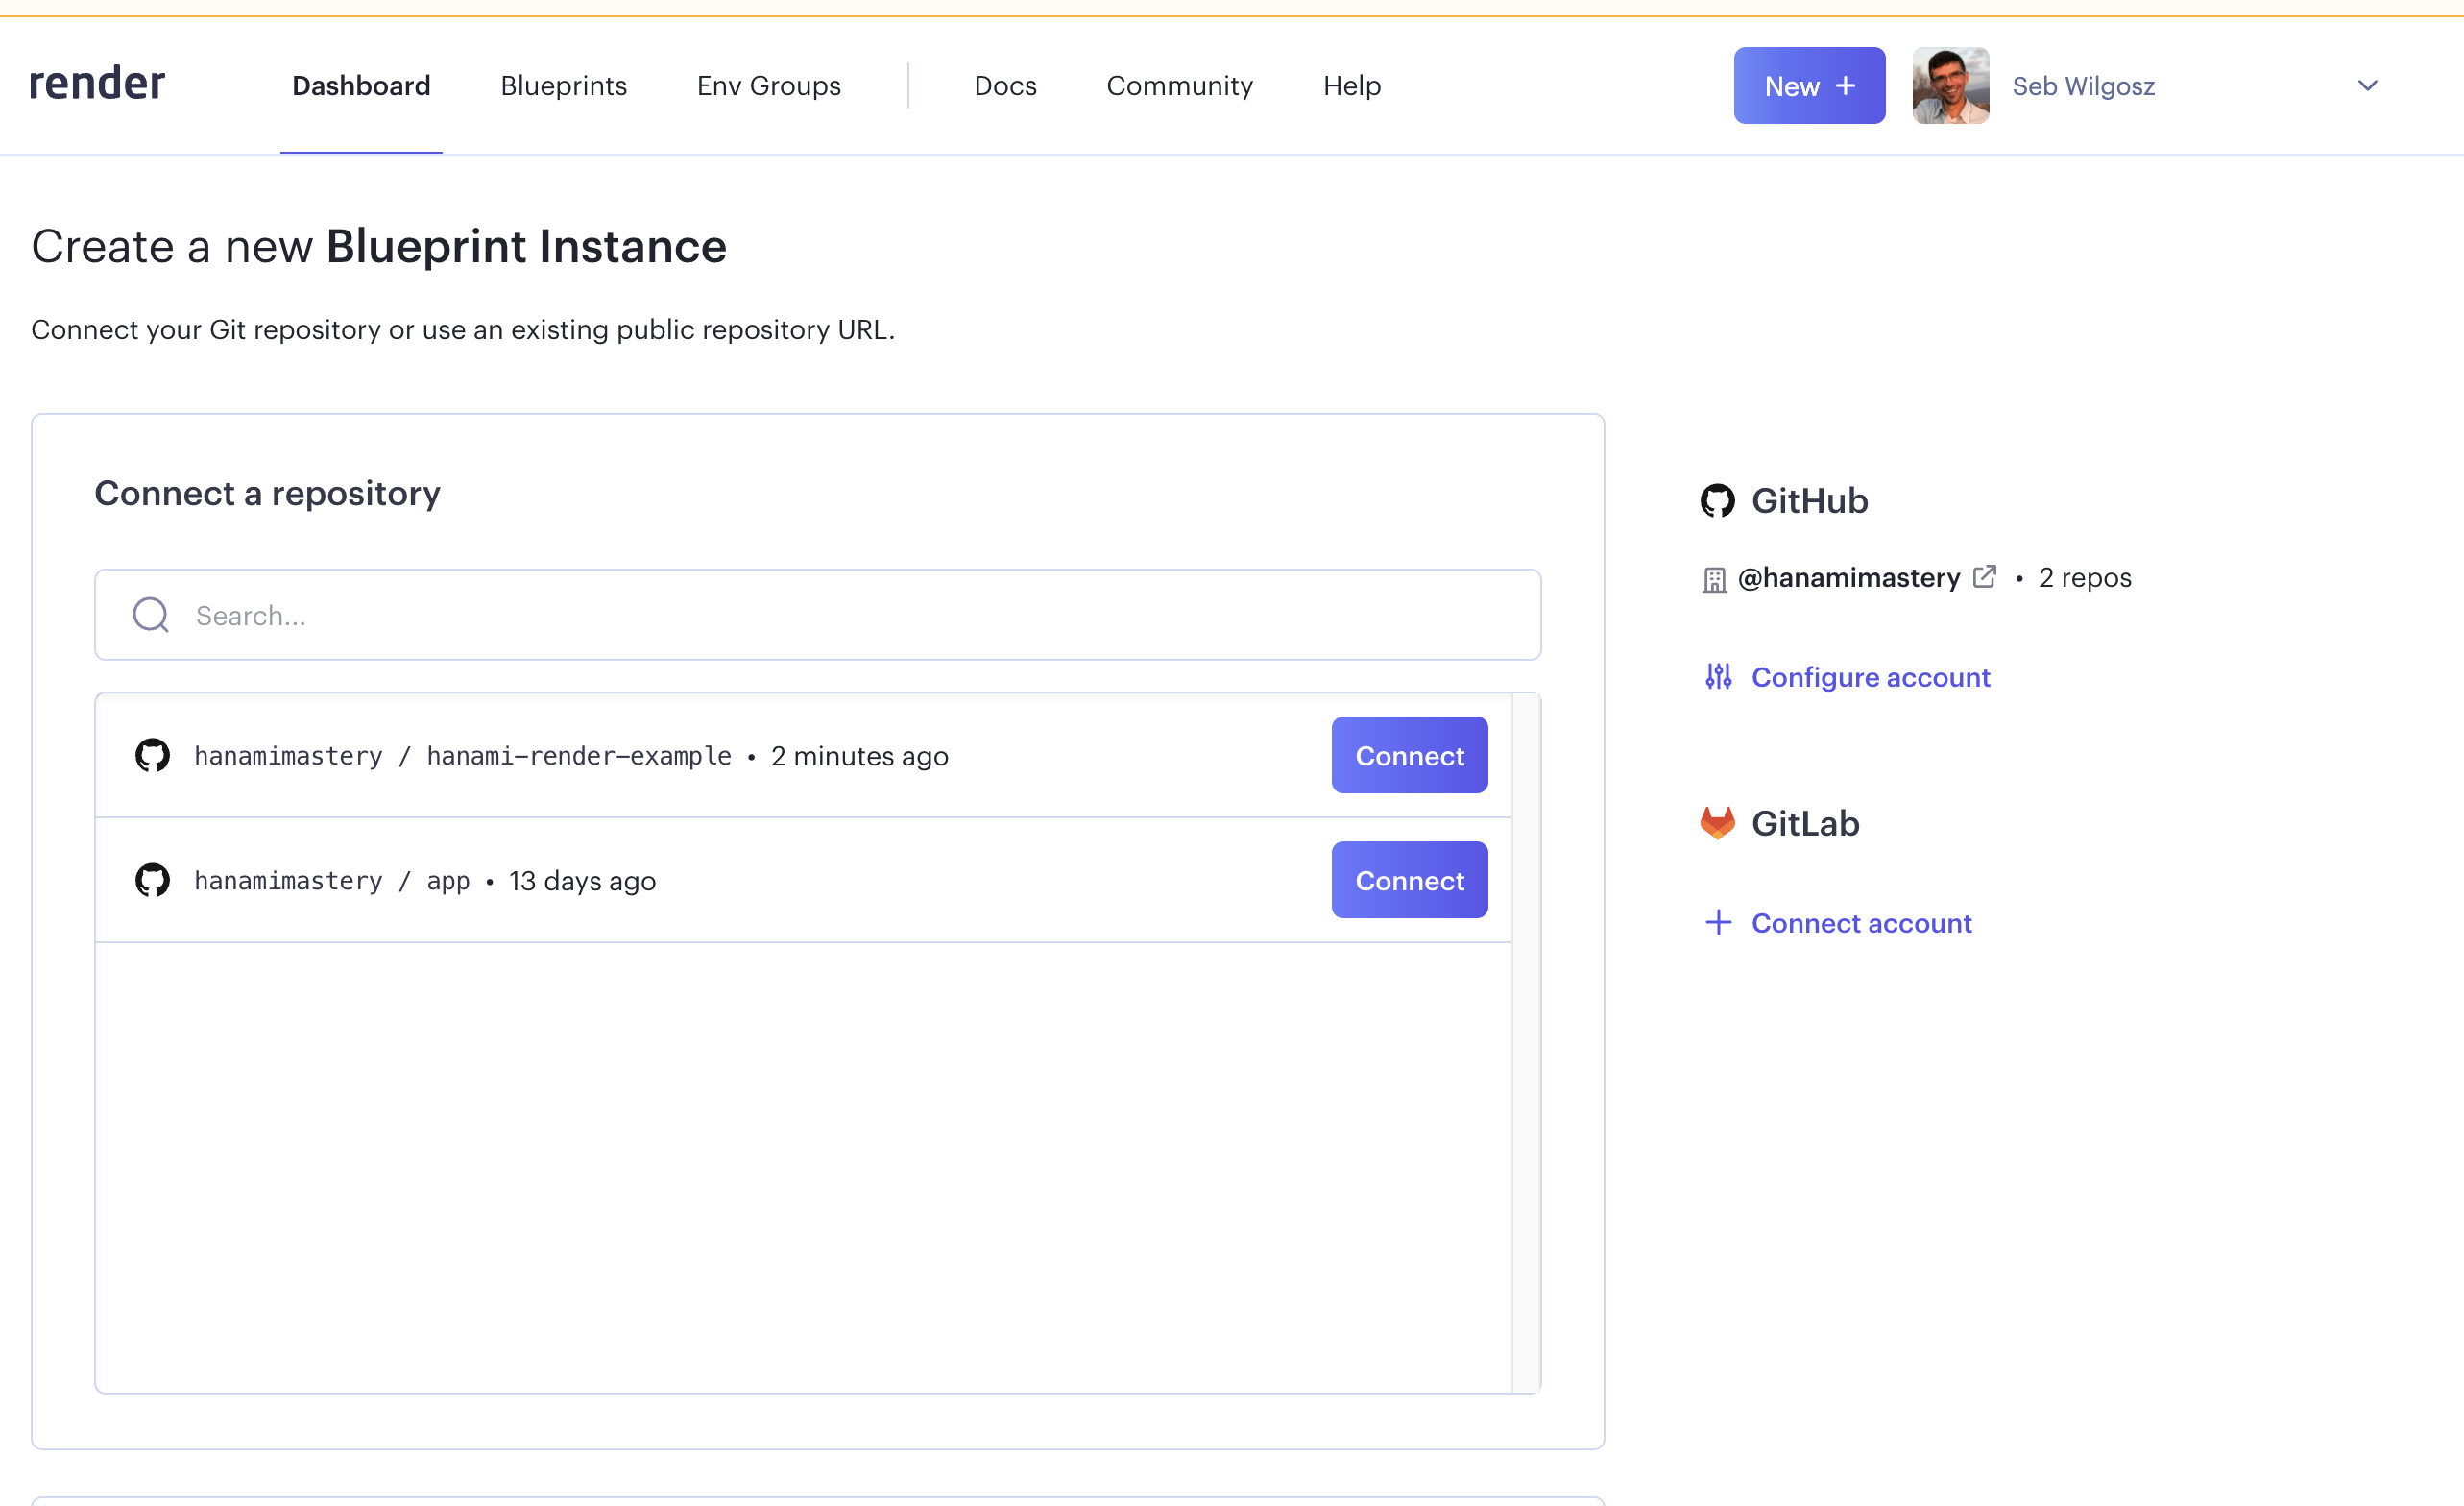
However, as I love to have all in one place, I'll create a blueprint application, which will spin all my services based on the YAML file I make.

You'll need to have github access configured to show your repositories. Let me connect the repository first.
It fails, because this application does not contain any configuration file for render, while hanamismith pulled together the application with database required. If you want to know the details, how to spin-up application with view and persistence layer in place, check out my episode 40, where I present the whole process in details.
Let me create the deployment file now.
Basic deployment YAML file for Render.
I need to add a new file, named render.yaml. Inside, I'm going to define my services deployment configuration. For now I'll need just a database and the main web server set, but to the database I'll get back later.
After setting up the type I'll explicitly set the subscription plan for render to free. It's important for sandboxing, because Render sets all plans to standard by default and I don't want to start with any cost too soon.
Then I set the service name. This is how it will be presented on the Render's dashboard.
Having that I can set the environment to ruby, and specify commands to be run in order to build and start my application. I'm going to point into the build script here to be written in a moment.
services:
  - type: web
    plan: free # optional (defaults to starter)
    name: HME041
    env: ruby
    buildCommand: "./bin/render-build.sh"
    startCommand: "bundle exec puma -C config/puma.rb"
Set Environment Variables for Render deployment
I'll need three environment variables in my setup. First I need to set my environment to production for correct framework loading mechanism to be chosen. Then, I'll set the PORT my application is running on, and the port render is listening on, to 3000.
    envVars:
      - key: HANAMI_ENV
        value: production
      - key: HANAMI_PORT
        value: 3000
      - key: PORT
        value: 3000

      - key: DATABASE_URL
        fromDatabase:
          name: hanamimastery
          property: connectionString
Create the build script
Now let me jump into the build script. I'm going to create a new file in the bin directory, and just paste there the shell commands I've prepared.
First I want to install the gems but without all the different Gemfile groups I have defined and only gems required by production being accessible.
After this I'll install the command. You'll probably want to precompile assets and things like that later on, but for now and for me this is absolutely enough.
#!/usr/bin/env bash
# exit on error
set -o errexit

bundle config set --local without 'development,test,analyze,tools'
bundle install
bundle exec rake db:migrate
However, to make this migration passing, I'll need the database configuration yet so let me take care of it now.
Setting up the database
Back to the render.yaml file, I'll add one more environment variable, for my DATABASE URL. I'll set it to be read from the database service named HME041, and I'll specify the property to be set as a value.
That's all the configuration you need for your yaml file. Now let me commit both of my files and push to the master branch of the repository.
Now in the dashboard, if we try to deploy now, we'll see an error that we're trying to access a non-existing database service. That's expected so no worries!
We could add our database specification in the render.yaml file, but if we do that, it'll create a database with standard plan, because databases on the free tier are only available for 3 months and then need to be recreated. This is why I'll add it from the UI.
Let me add a new postgres instance named HME041. The details I can set to random strings, because I use the URL property name in my configs. Important though is to define your plan here. For the sake of this episode I'll set the free tier, and we're ready to go. Our database is creating.
Now the web service can be finally created as all configuration dependencies had been resolved. I'll set the name to this episode number, and click create. This can take a moment for you, so no don't be worried.
Oh, deployment failed with an error. Let me check what happened.
Ok, as my deployment happens on docker image with linux installed, I need to add linux platform to my Gemfile.lock using bundle lock command.
Quick and easy, I can just run this in the terminal and commit my file to the repository. This new commit will trigger another deployment, so we'll soon be able to verify if everything goes well.
I don't expect surprises anymore.
Verifying the deployment
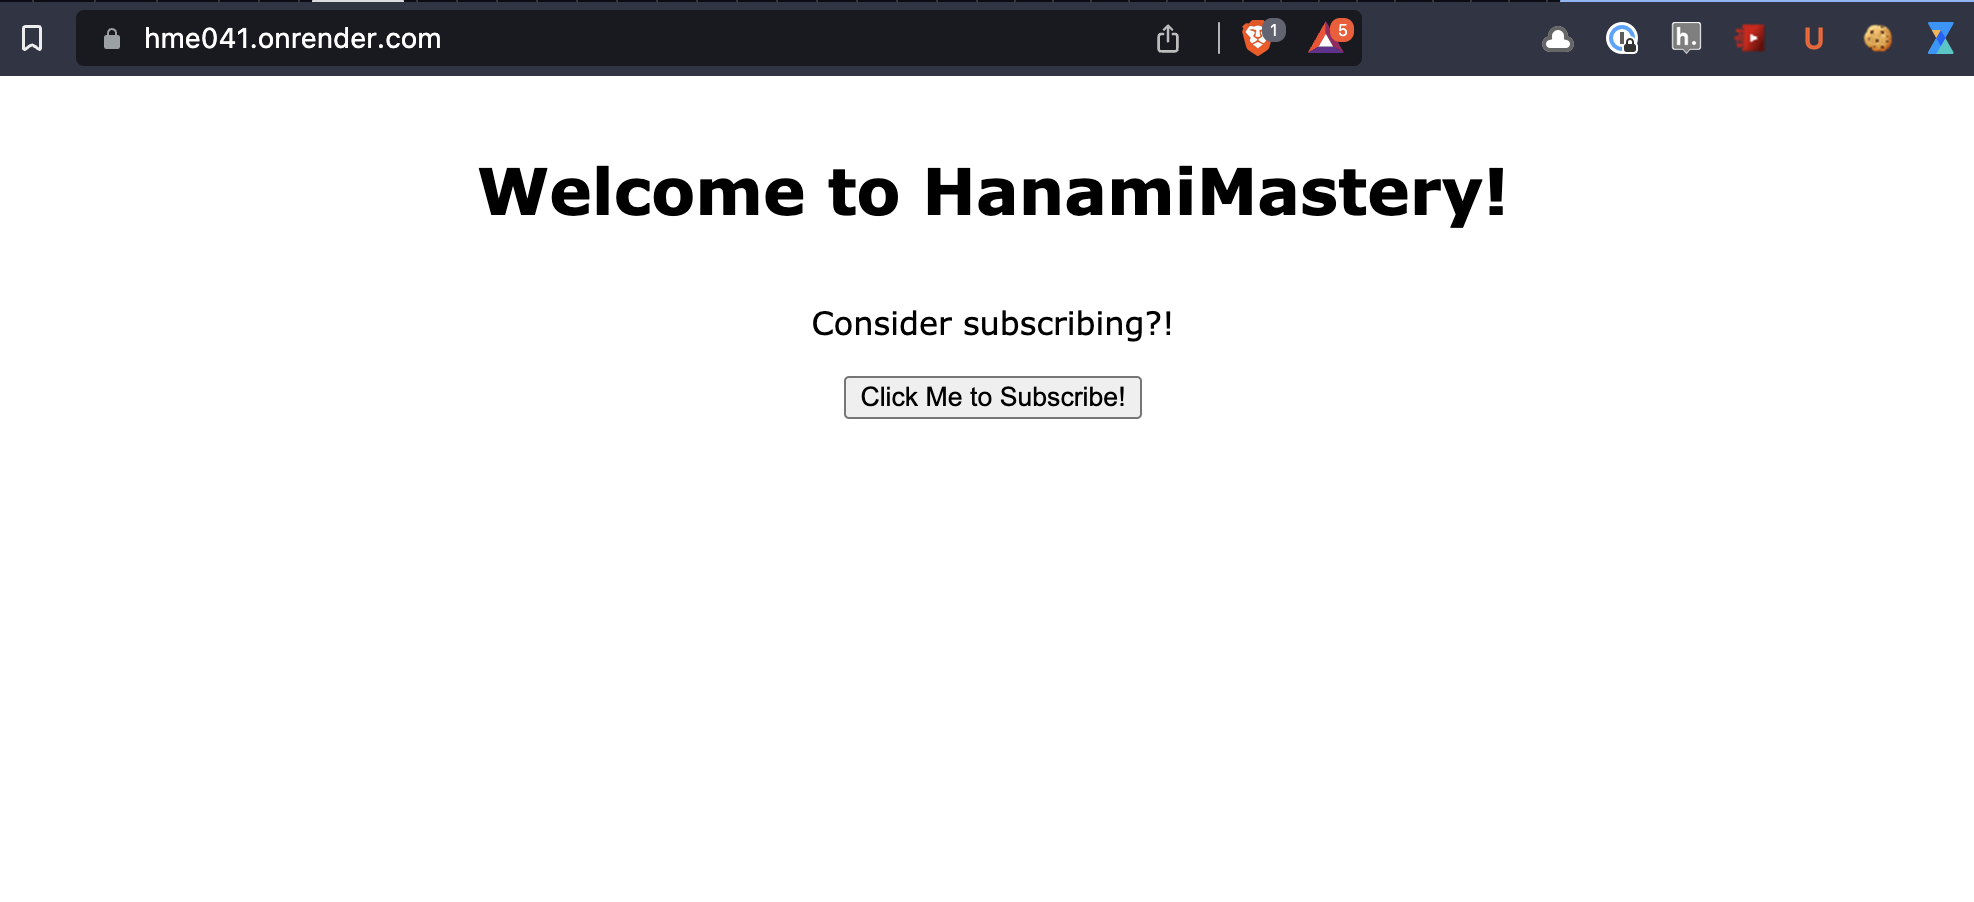
The progress indicator shows me that the build succeeded now, so let me verify it is live now!
 Home page of deployed app
Done!
Summary
While this guide was not totally smooth, I hope you'll find it useful that I've decided to keep the debugging parts. Render is amazing, and despite advanced web apps usually requiring multiple services to be set up, it's still very easy and straightforward to do it.
Become an awesome subscriber!
If you want to see more content in this fashion, Subscribe to my YT channel, Newsletter and follow me on Twitter!
Thanks
I want to especially thank my recent sponsors,
and all the Hanami Mastery PRO subscirbers, for supporting this project, I really appreciate it!
Consider sponsoring?
If you want to support us, check out our Github sponsors page or join Hanami Mastery PRO to gain the access to more learning resources and our private discord server!
Add your suggestion to our discussion panel!
I'll gladly cover them in the future episodes! Thank you!

