Today I'm going to show you the Bridgetown, a progressive-site generator written in Ruby. Even though I'm not using it just yet, I'm going to be a heavy user relatively soon and therefore I wanted to do some digging into this topic for you.
It's written by Jared White, who is himself a precious gem in a ruby open-source community. I encourage you to check out his work, and if you benefit from it, consider sponsoring him on GitHub as he puts a crazy amount of work into making his projects amazing.
But now let me explain why I'm talking about it.
As some of you may know, my Hanami Mastery is an open-source project that anyone can contribute to, written in Next.js.
While Next.js is fine, It has some drawbacks as everything. However, on Hanami Mastery, I'm making content for Ruby devs, and Ruby devs are reading and watching it! It would make sense then, to have the project itself written in Ruby to lower the barrier of contributions coming from the audience.
However, by the time I started with this initiative, there was no easy solution to run an advanced blog based on static-content generation, but things had changed since then by a lot.
Bridgetown is the first ruby project I can use that will provide all the functionality I need.
I'm looking at Bridgetown with the hope I'll be able to switch soon, and in this episode, I'll try to show you why.
Starting with Bridgetown.
As you may expect in 2023, starting to work with any ruby framework is very straightforward. Once you'll install Bridgetown, you will need to create the new project, and you can do it by calling bridgetown new followed by your project name.
gem install bridgetown -N
bridgetown new hanamimastery
cd hanamimastery

# => ...
Fetching concurrent-ruby-1.2.2.gem
Fetching bridgetown-1.2.0.gem
Fetching bridgetown-builder-1.2.0.gem
Fetching bridgetown-core-1.2.0.gem
Fetching bridgetown-paginate-1.2.0.gem
That's all! You can now start your project, and enjoy the ready-to-work blog, just like that.
bin/bridgetown start
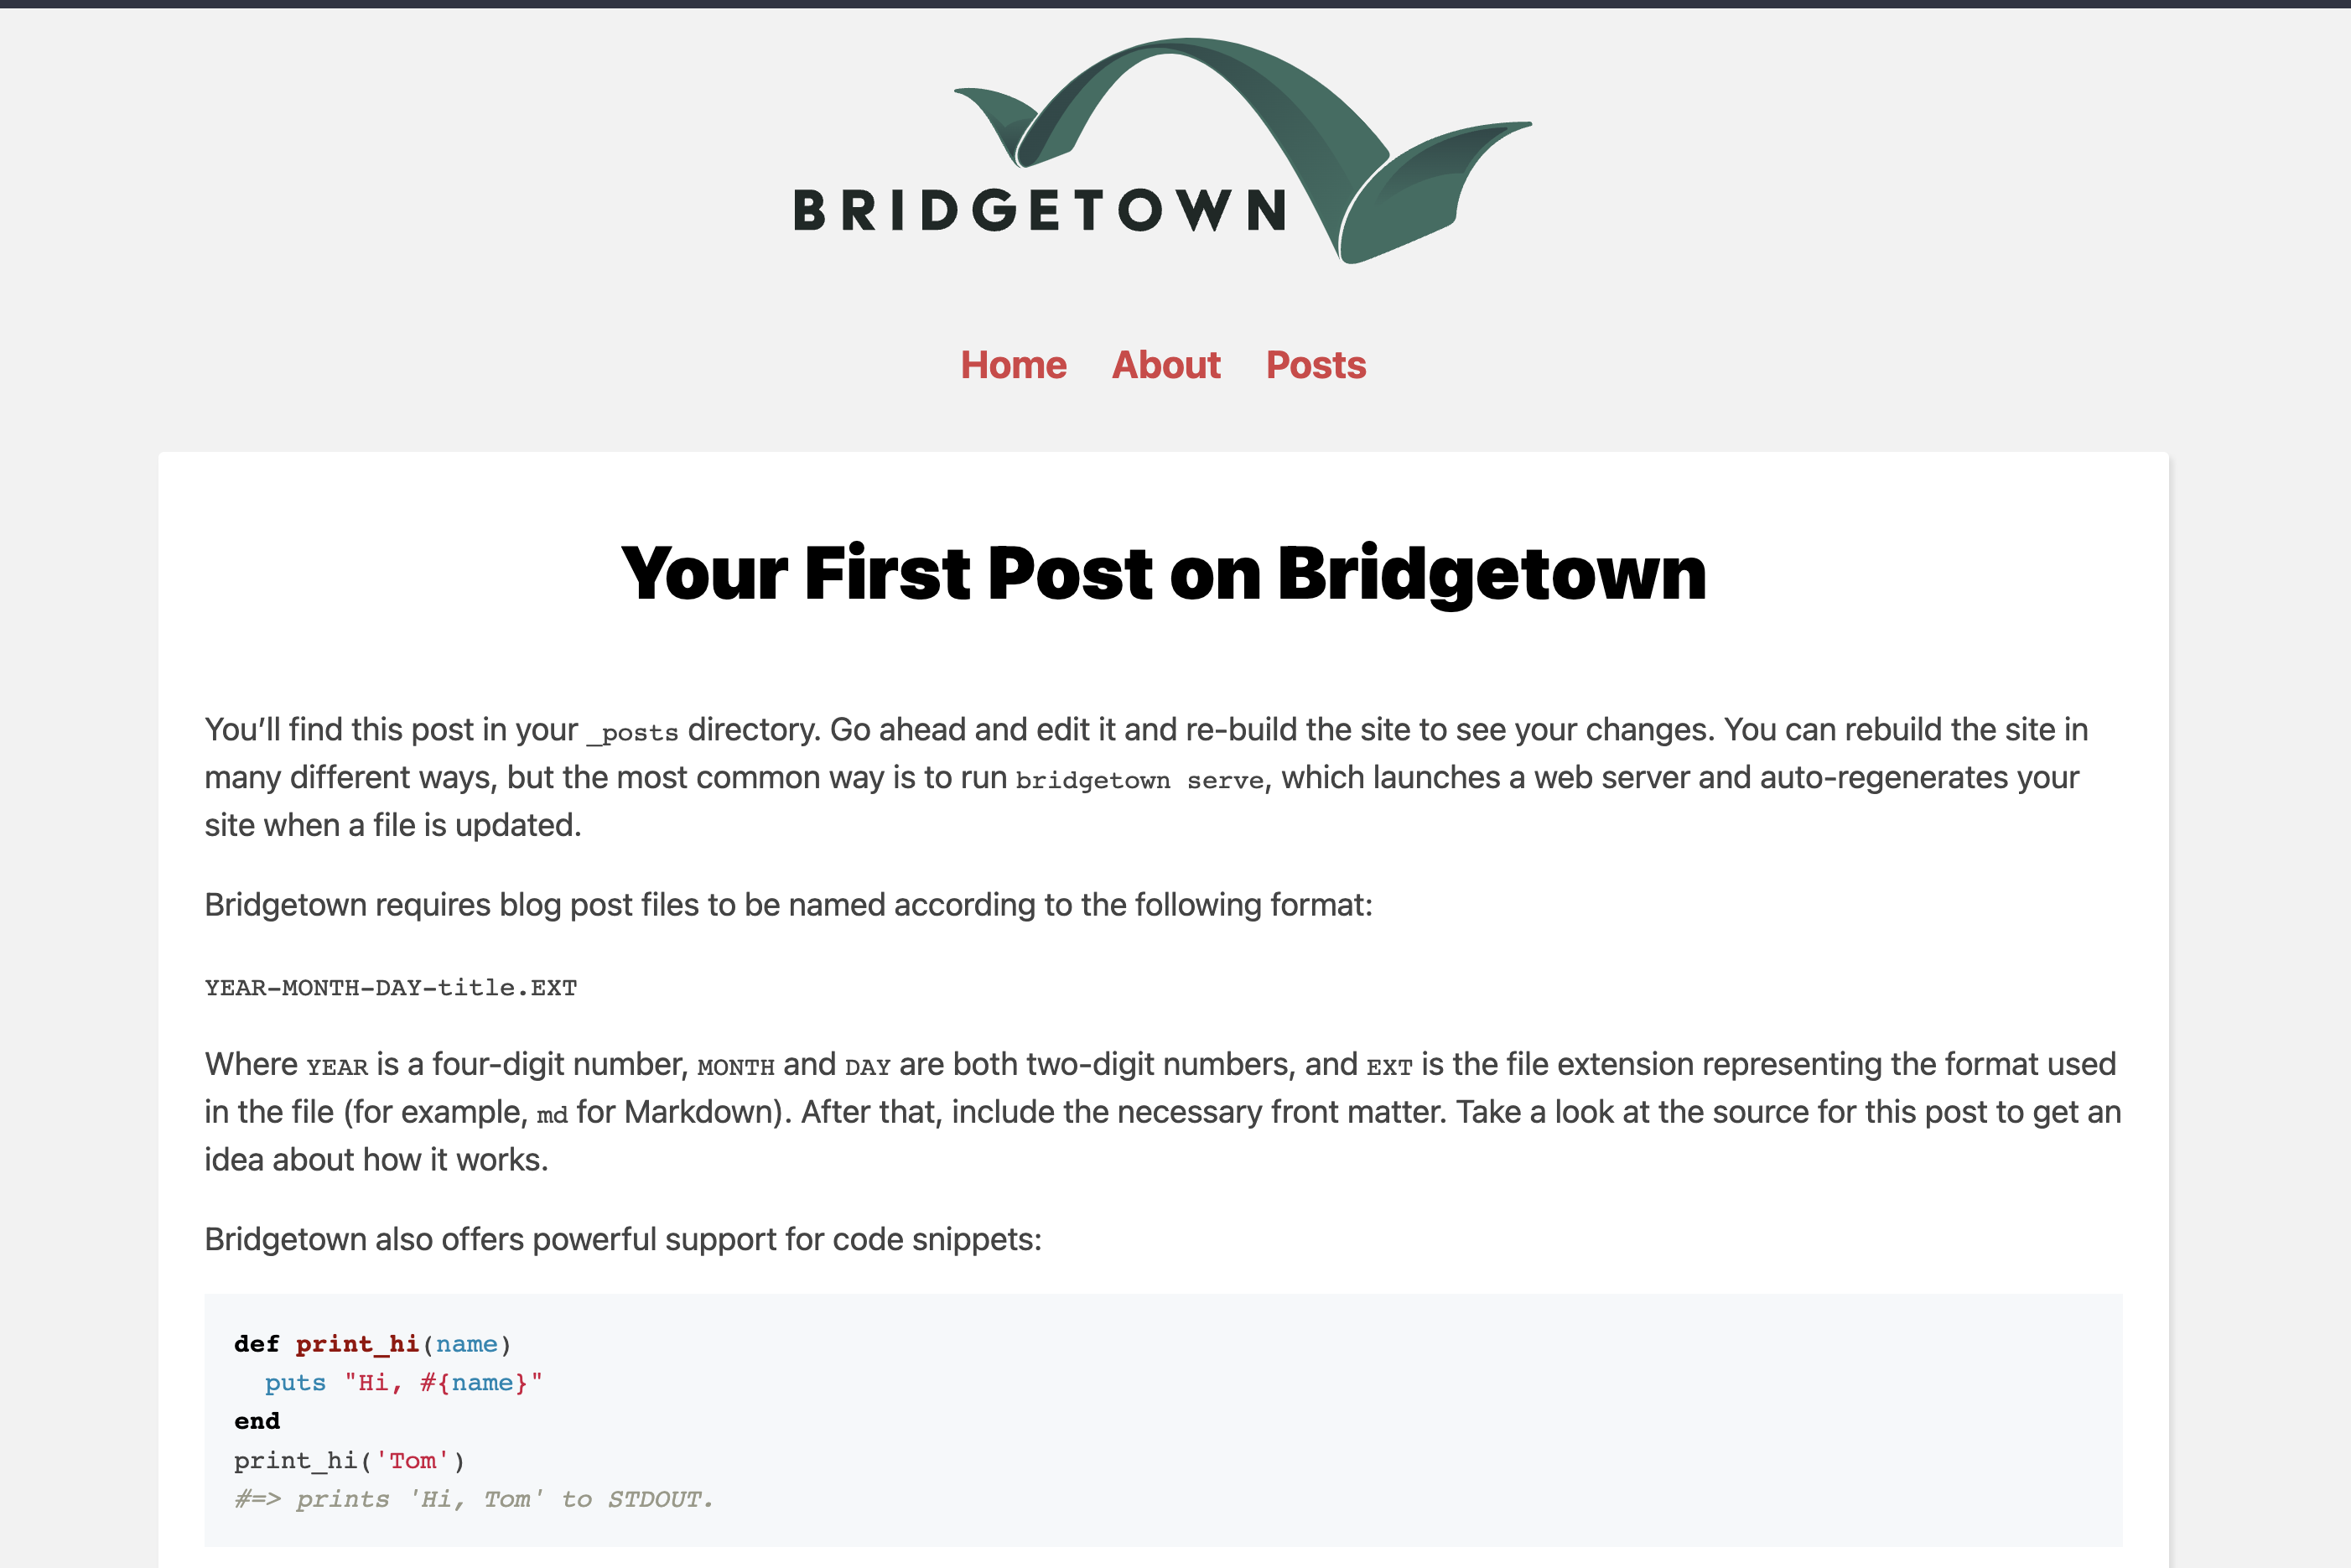
The running website is available under localhost on port 4000, and you can already see here a few pre-generated pages, like home and about, with a sample post with them.
You can preview a few different text blocks, including code sample, basic CSS styling, so in short, everything a simple blog would need to start.
 Bridgetown single page
If I'd say a single thing I love Rails for, it's the convention over the configuration philosophy. It started this trend of making all the projects just work out of the box and as a user, I see it as extremely convenient.
Directory structure
When I'll open the project file tree, You'll see a few main folders, for example, one named frontend, that contains all the javascript and CSS for our application. The content of my blog will be placed in the src folder though, so let me check it now.
Here, some shared components, like the footer and navigation bar, are all written in liquid template language. You can configure Bridgetown to use slim, erb, or any other template language if you don't like the default and I'll probably do it just because I completely don't know the liquid syntax.
The posts are grouped in the posts folder, so if you want to write something, you can start immediately, using your favorite content editor. I don't have posts on Hanami Mastery, but rather articles and episodes, so let me show you how you can create custom collections if that suits you better.
In the bridgetown.config.yml file, I'm going to add two of my custom collections and configure some options.
collections:
  articles:
    output: true
    permalink: simple
    future: true
  episodes:
    output: true
    permalink: simple
    future: true
First would be the articles collection. I want Bridgetown to generate single post pages for me, and I don't want to use a date in the URL, so I'll set the permalink to simple. Finally, I want to allow for draft content creation, so I can have multiple episodes ready, waiting for publication in order to improve the consistency of new content appearing on the web.
Then I just repeat the same for episodes.
Then I can add those two new collection folders to my source, and paste inside some files. I'll actually paste real files from Hanami Mastery, to check how much I need to do to make things readable.
Oh, I see the typo in the permalink value, let me fix it quickly so the URLs will be generated properly
Now let me show both new collections. First I'll add some links to the navigation page, just copying the last item and rename the posts to articles and episodes accordingly.
Having that, I'll copy over the posts index view and do similar renaming just to make things work. Nothing fancy just yet.
This should already allow me to browse my new content added, and visit the single article or episode page. As you can see, all content is properly displayed and filtered by the configured collection, which is just great!
When I'll visit the single resource page though, you can see, the CSS here is not loaded, and that's because the layout is not specified. I can fix it by adding the layout front matter attribute to my resources, pointing to any of the layouts I have defined.
In my episode file, I'm going to add layout: post setting, and now when I refresh the page, styling should be applied. Great!
Pagination
In case you have a lot of content on your blog, you may be interested in enabling the pagination feature. To do it, in the config file, just uncomment related lines, and then you can show pagination on any index page.
I'll show you how it works on my episodes list. In the frontmatter of this page, I want to specify which collection to paginate, and because I only have 3 items, I'll paginate by 2 episodes per page.
With this, I can replace the collection.episodes by a paginator call, and to show the pagination links, I'll paste the code snipped from the official documentation - you can style it up further if you wish of course.
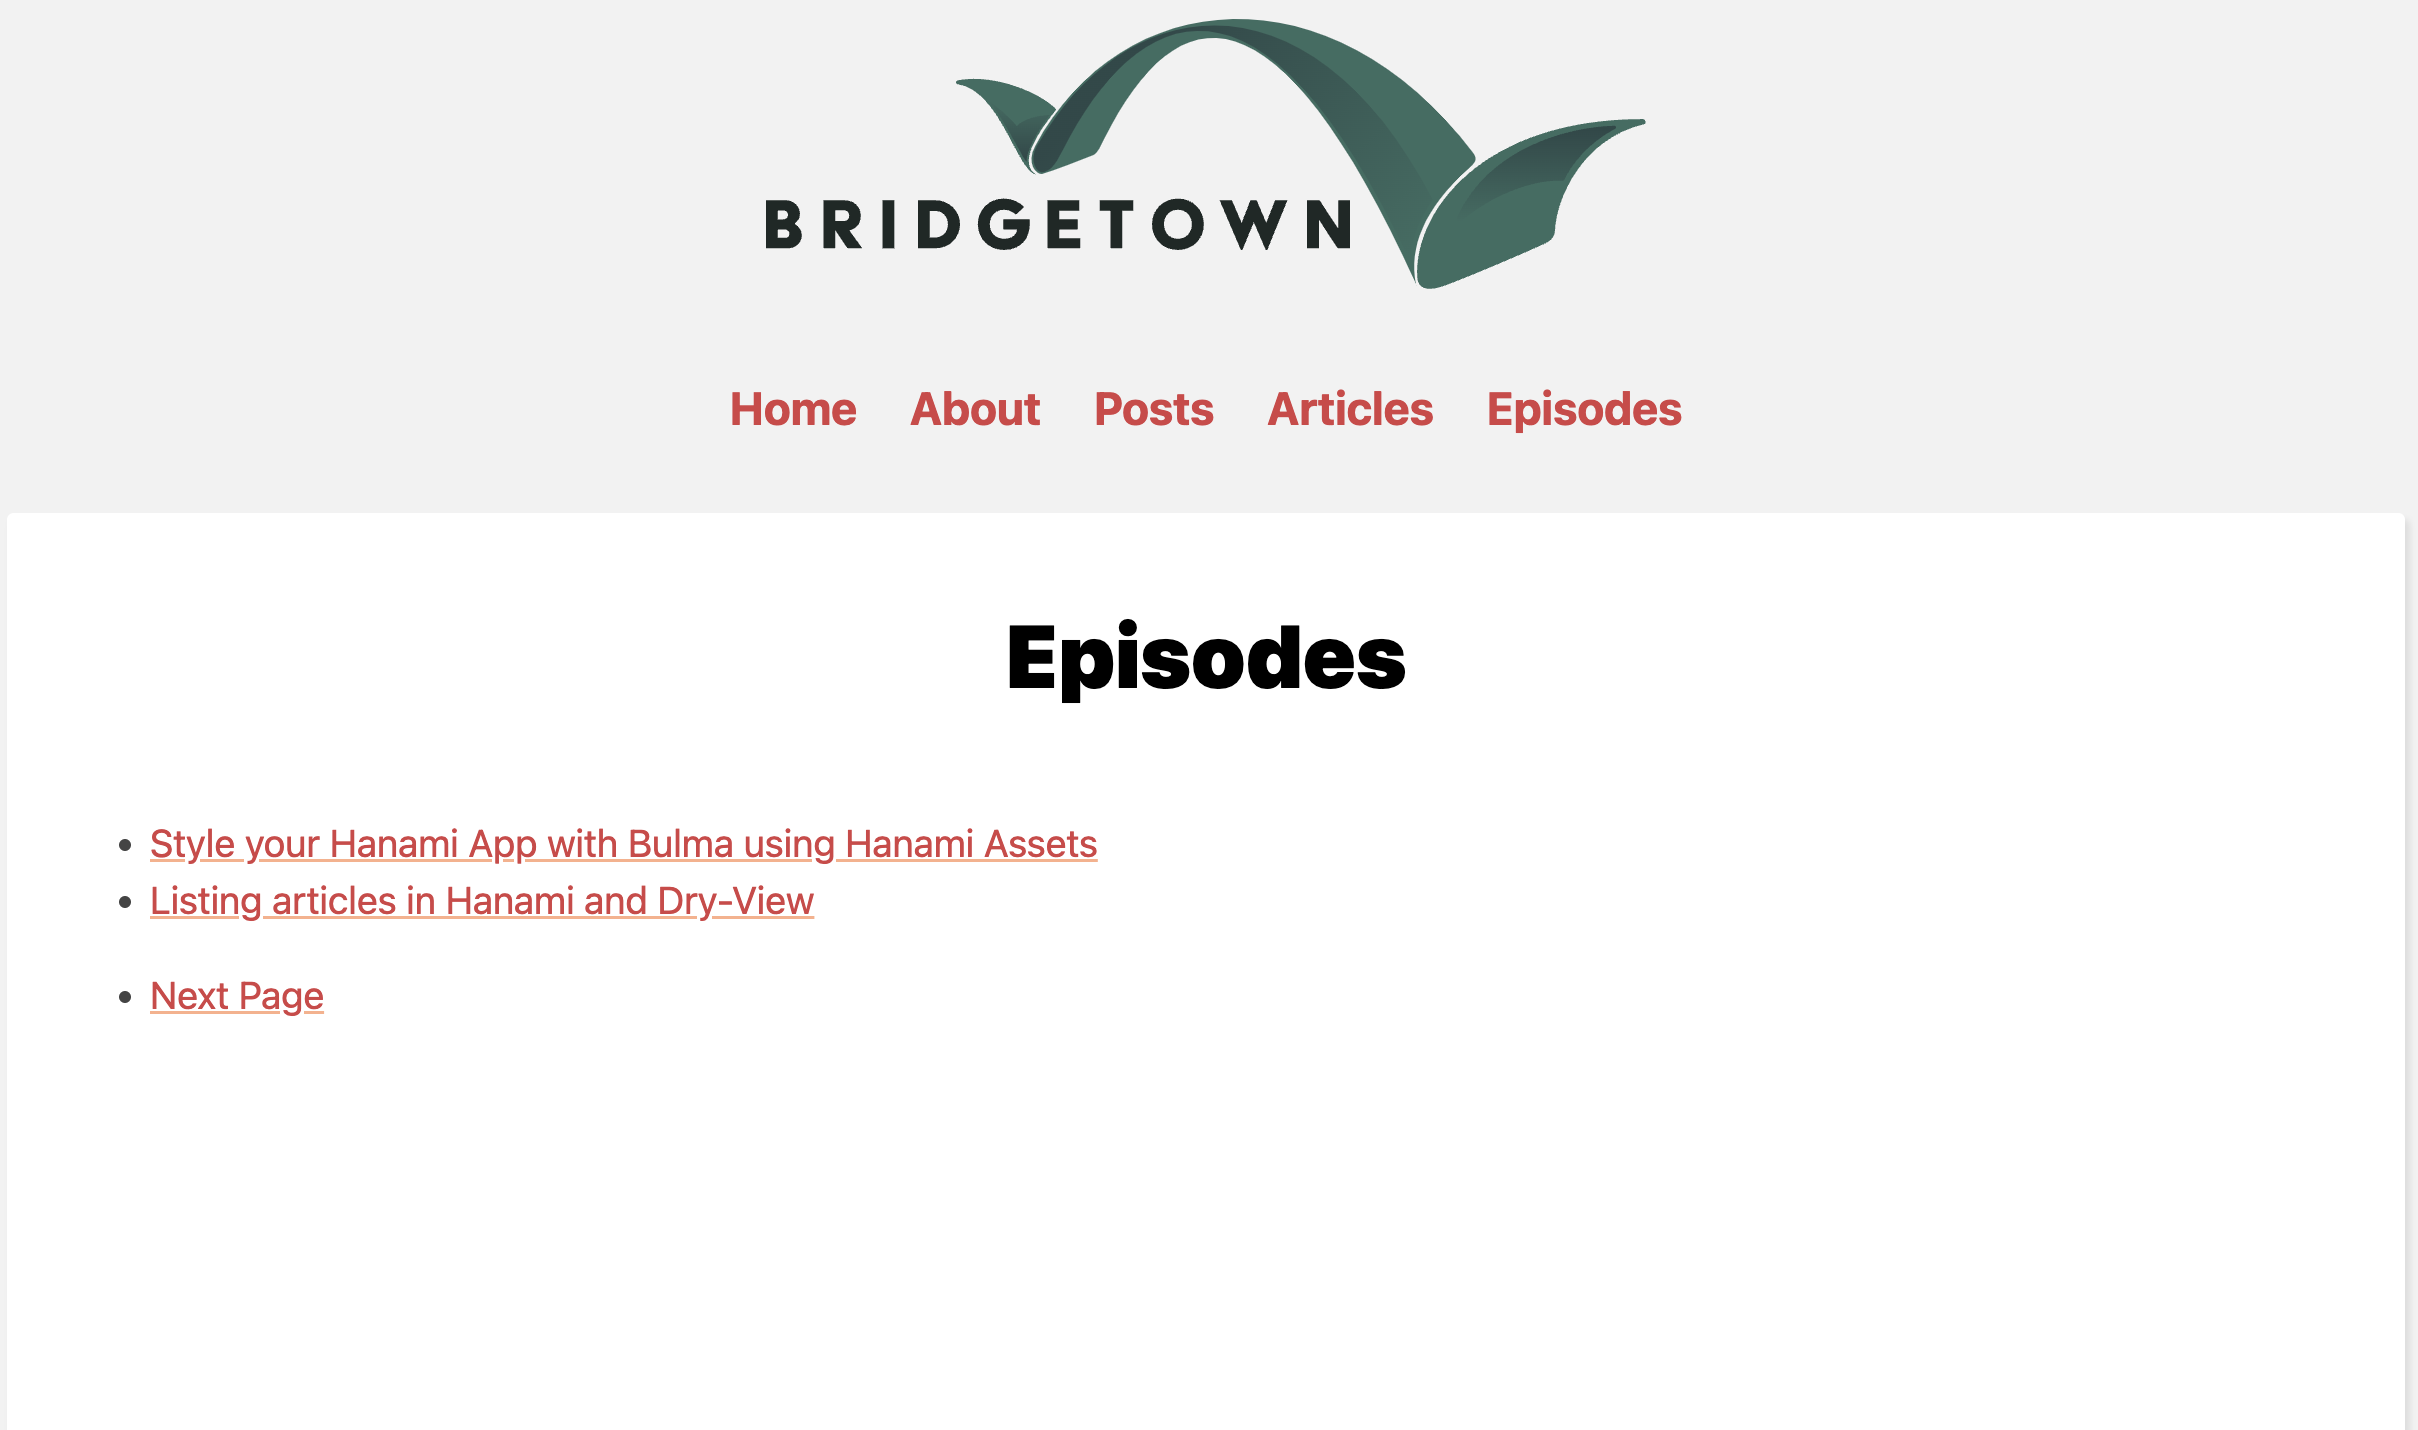
Now when I'll visit my browser, I can already see the basic navigation feature enabled.
 Bridgetown pagination
While styling may not be perfect here, It's easy to customize it further and adjust to your own needs.
Summary
That's all I have for you today.
Keep in mind, that all the Bridgetown features I've shown you so far are very basic but Bridgetown is so rich in features, that It's impossible to fit everything in the short episode.
For example, on Hanami Mastery I've dynamic tags pointing to lists of content filtered by those tags, or categories that can group content for main topics - and those features are also supported by Bridgetown out of the box using prototype-pages.
If you want me to show you more advanced usages of Bridgetown, let me know and consider joining my Hanami Mastery PRO, where you have more impact on the content creation process by our discord server.
Summary
I hope you've enjoyed this episode, and if you want to see more content in this fashion, Subscribe to my YT channel, Newsletter and follow me on Twitter!
I want to especially thank my recent sponsors,
and [all the Hanami Mastery PRO subscribers, for supporting this project, I really appreciate it!
Consider sponsoring?
If you want to support us, check out our Github sponsors page or join Hanami Mastery PRO to gain the access to more learning resources and our private discord server!
Add your suggestion to our discussion panel!
I'll gladly cover them in the future episodes! Thank you!

