With the introduction of Hanami 2.1 the view layer get's in place so I've decided to play a bit with the form helpers to show you how we could use them.
I have here an application, the same that I've created in episode 40, presenting Hanamismith. I just prettified it a little bit since then, using bulma CSS framework.
For more details about integrating it, I encourage you to check episodes 2 and 3, where I've shown how to list articles using Bulma and Hanami-view.
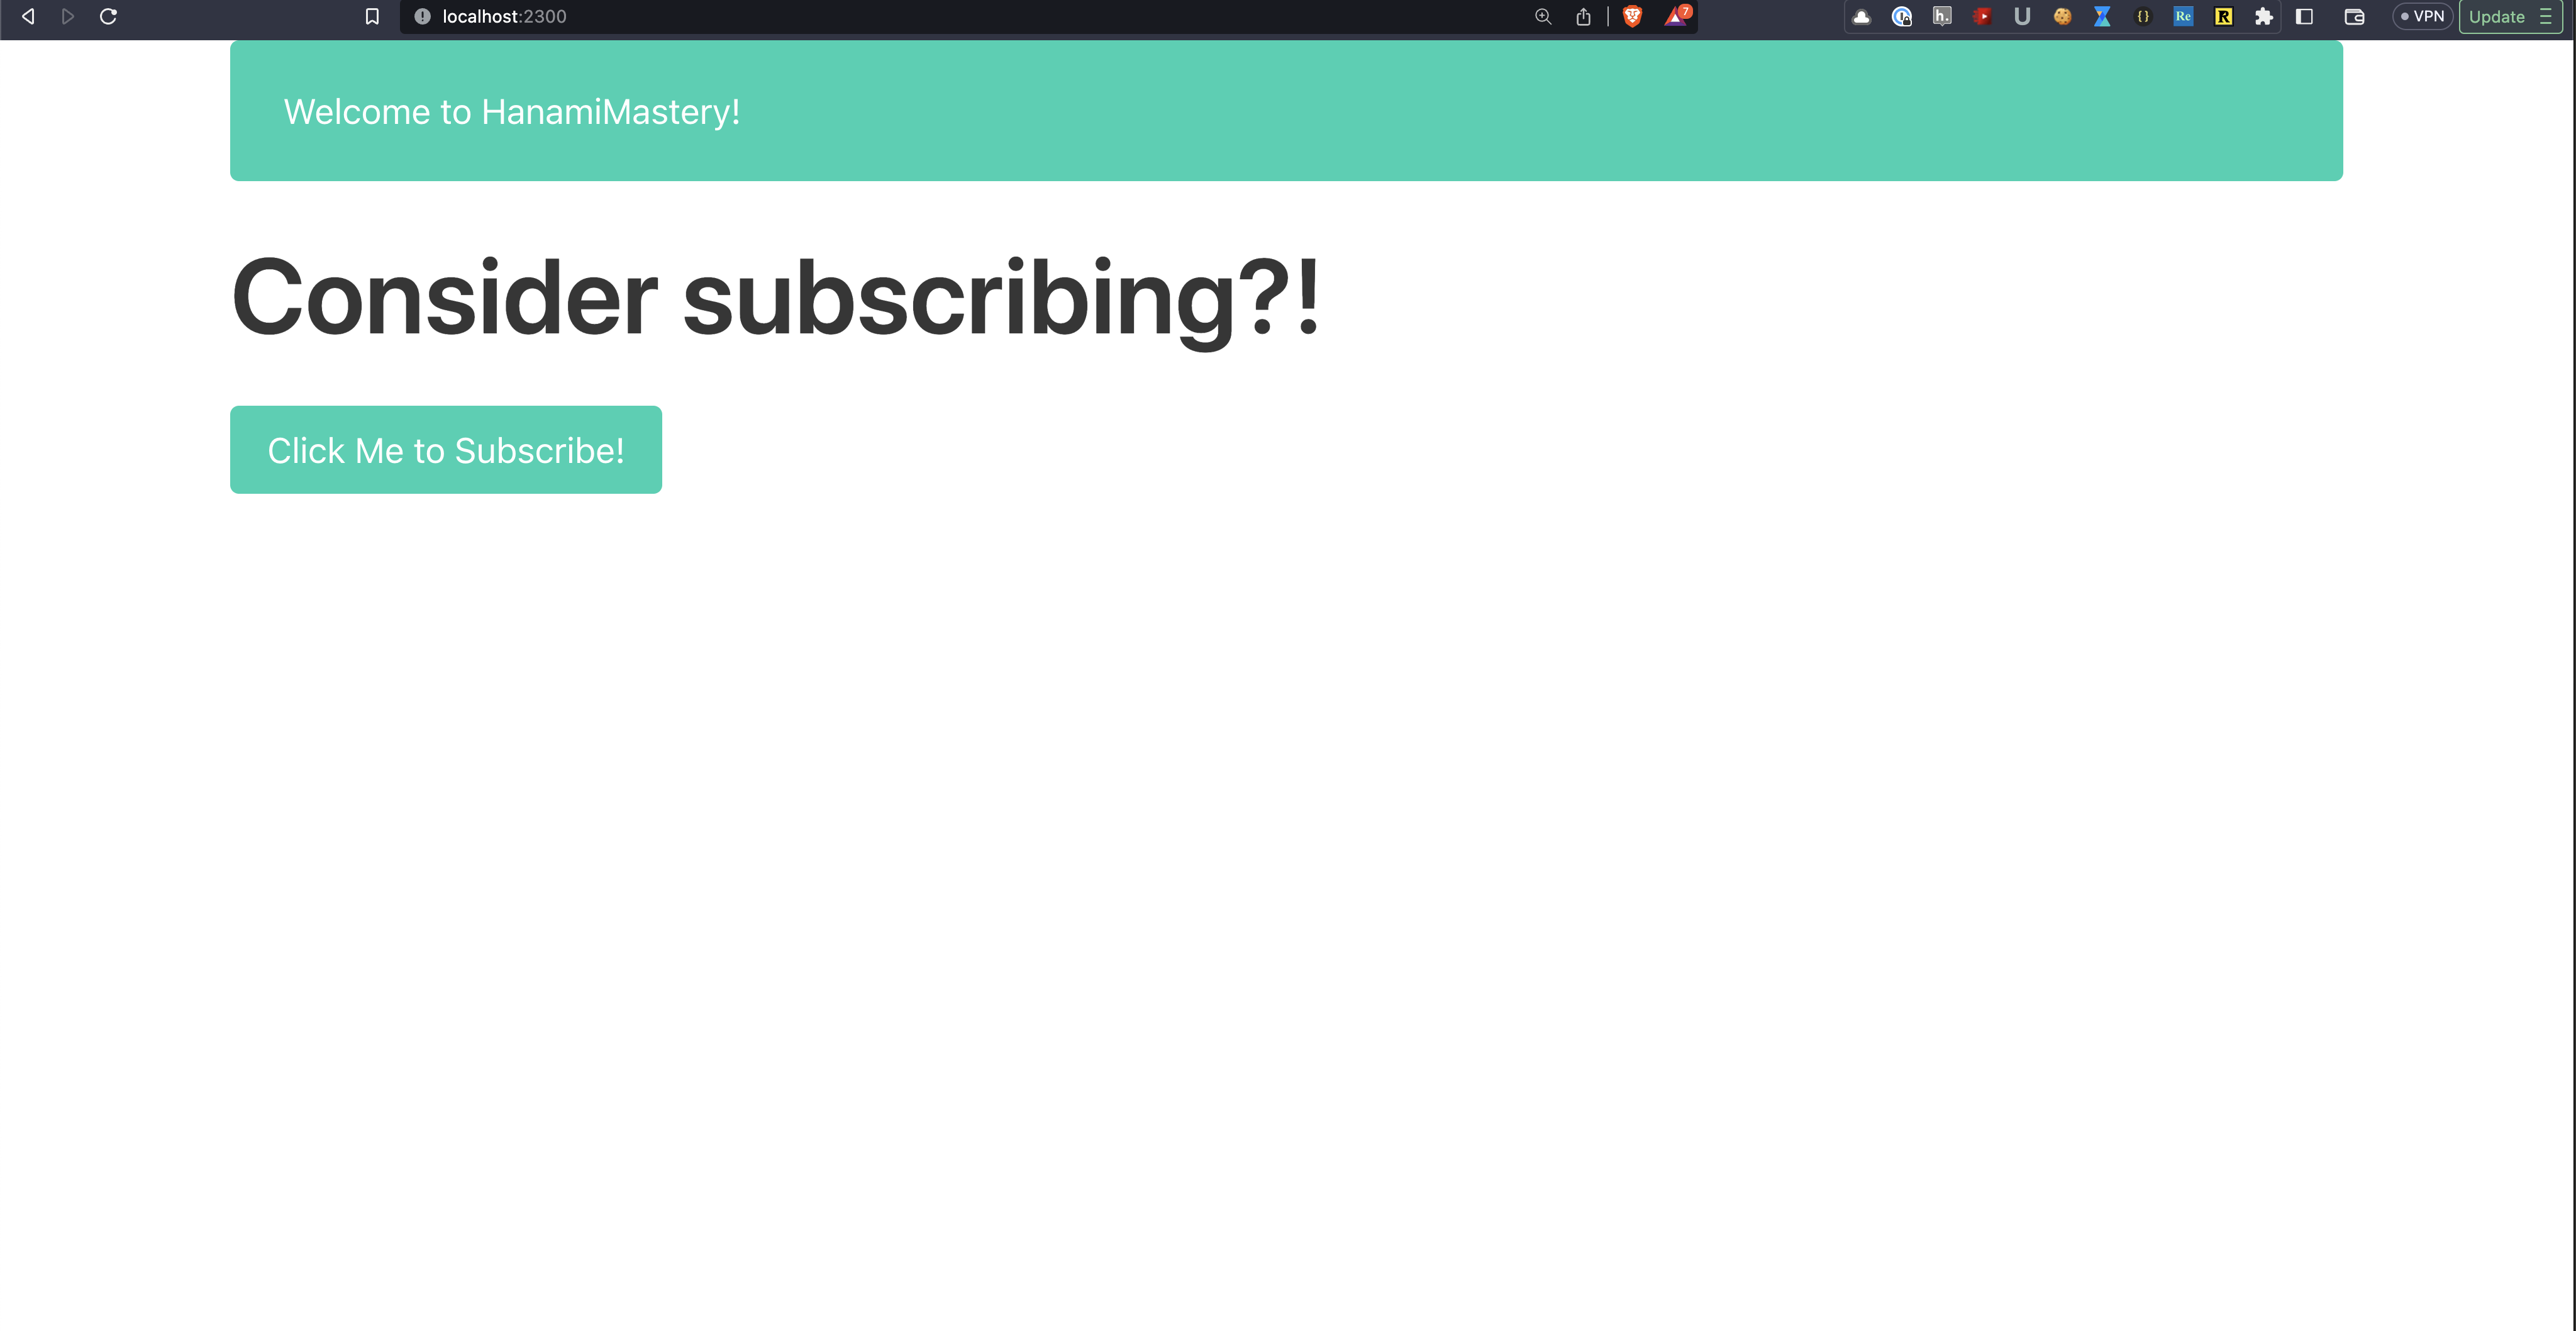
 Welcome Page
It allows users to click a button and pretend to subscribe to my youtube channel. Of course, that's just a fake for lamers.
If you want to subscribe for real, I'm sure you know what to do ;).
In this episode, though, I'm going to write a contact page, in case people will realize to their big surprise that the action is not fully working and will notice that after refreshing the page, their subscription is not persisted.
I want them to be able to report to me that the subscription is not working, so I can tell them, that it's not a bug but a feature, and properly redirect them to my youtube channel.
Please do not ask how much sense it has, I'm just having some fun here!
We'll use a contact form that after submitting, will send an email to our great customer support team, which is me actually.
So let's start then.
Before we start.
Please keep in mind, that Until Hanami 2.1 is officially released, I've switched Hanami-related gems in my Gemfile to be loaded from the main git branch from the GitHub repositories.
gem "hanami", , github: "hanami/hanami", branch: "main"

gem "hanami-cli", github: "hanami/cli", branch: "main"

gem "hanami-devtools", github: "hanami/devtools", branch: "main"

gem "hanami-utils", github: "hanami/utils", branch: "main"

gem "hanami-controller", github: "hanami/controller", branch: "main"

gem "hanami-router", github: "hanami/router", branch: "main"

gem "hanami-validations", github: "hanami/validations", branch: "main"

gem "hanami-view", github: "hanami/view", branch: "main"
If you watch this video after the Hanami 2.1 is released, you won't need all of this and you'll just be able to work with defaults.
Contact Page
First of all, I want to create a contact page. At the moment I only have my home page available, but I want a separate page to show the contact form. For that I need the route to render it, so let me add it now.
# slices/main/config/routes.rb
get "/contact", to: "home.contact", as: :contact
Now I want to add a new show action, for my contact page. For now, I do nothing here, just rendering the corresponding view object.
# slices/main/actions/home/contact.rb

module Main
  module Actions
    module Contact
      class Show < Main::Action
        def handle(*, response) = response.render view
      end
    end
  end
end
Now Let me create the view. I'll expose the title method here so I can access it in the view, and will add this as a method below.
# slices/main/views/contact/show.rb
module Main
  module Views
    module Contact
      class Show < Main::View
        expose :title

        def title
          "Cannot subscribe?! Oh no! Let us know what happens!"
        end
      end
    end
  end
end
Exposing strings like this is useful for potential localization in the future and easier testing in isolation.
Now I just need to add a template. This time I'll use the standard ERB engine to parse my ruby code into HTML. While I'm not a fan of it anymore and you'll see more slim templates in my tutorials in the future, I think it's ok to show that this is also an option.
# slices/main/templates/contact/show.html.erb

<h1 class="notification is-primary">
  <%= title %>
</h1>
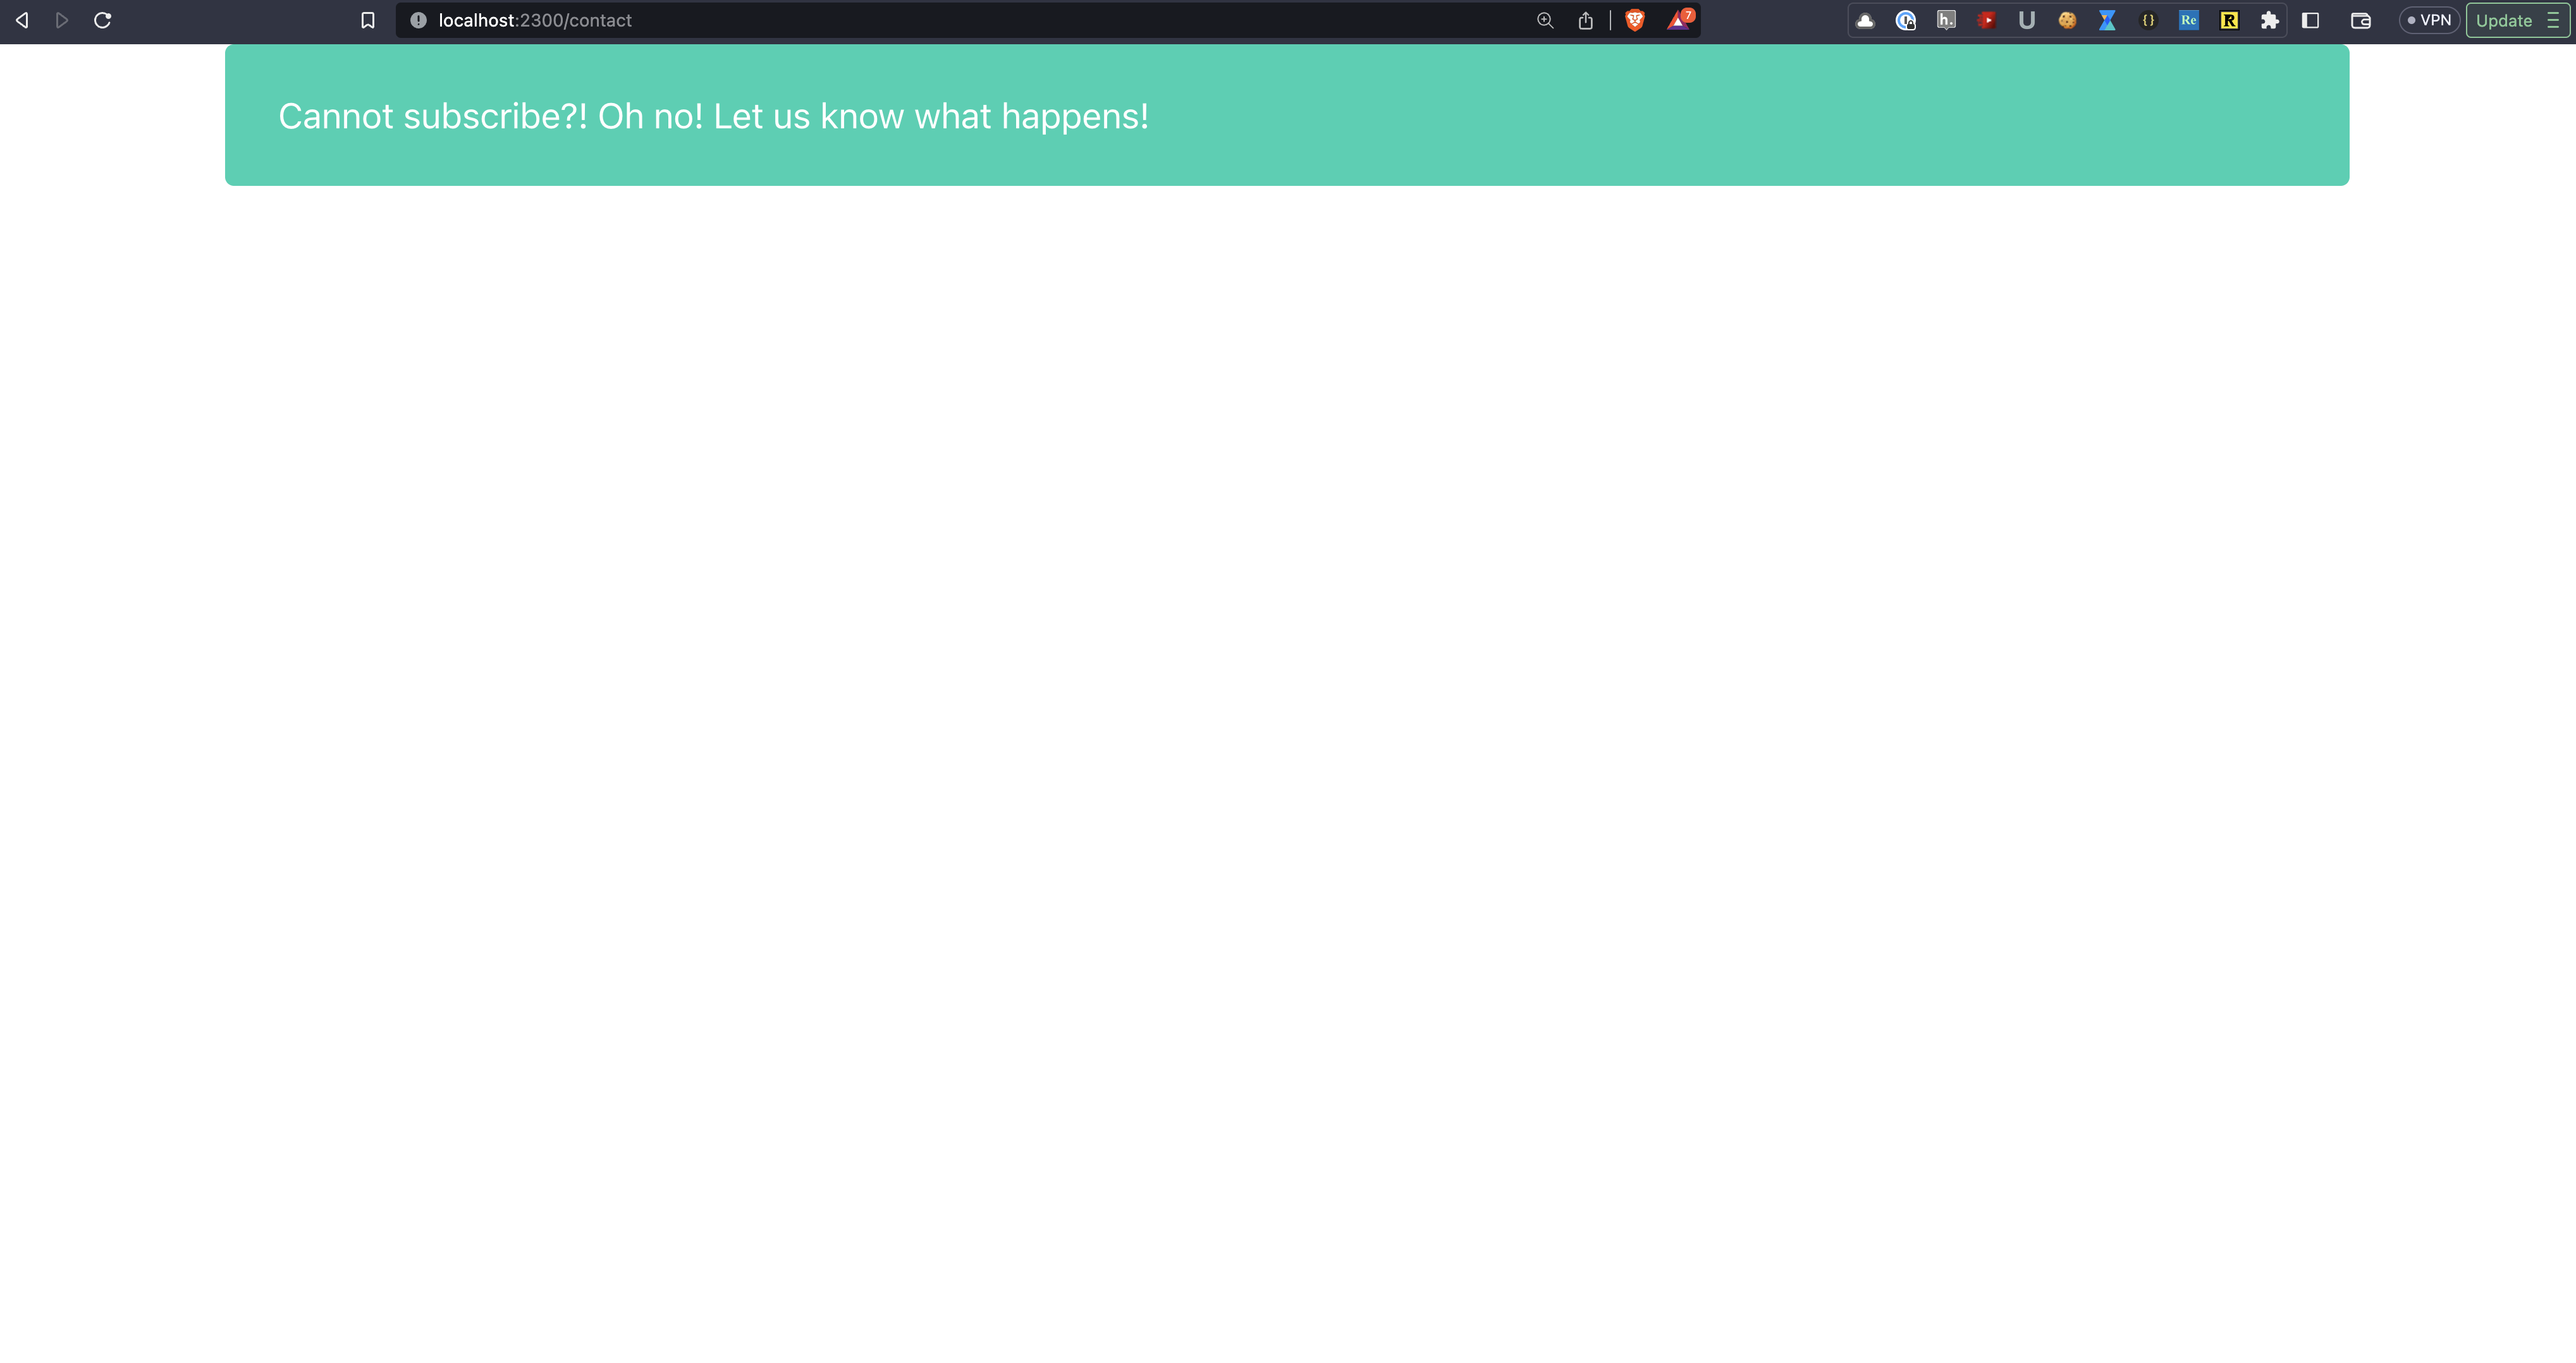
Now when I start my server, and visit the /contact URL, you'll see that a new page is rendered properly :). Great!
 Empty contact page
Navigation
To easier switch my pages, It would be useful to have a quick navigation for my pages at the top, so let me jump into the application layout and add a simple navigation snippet there.
For each page, I'm going to use the link_to helper, to show the link pointing to my custom pages. I type the text to show as a first argument and the path as a second argument.
At the end I'm adding the navbar-item HTML class, so it will be presented in a nice way leveraging Bulma integration.
# slices/main/layouts/app.html.erb

<nav class="navbar" role="navigation" aria-label="main navigation">
  <div class="navbar-menu">
    <div class="navbar-start">
      <%= link_to('Home', routes.path(:root), class: 'navbar-item') %>
      <%= link_to('Contact', routes.path(:contact), class: 'navbar-item') %>
    </div>
  </div>
</nav>
Let me check how it looks now.
Cool! Having that, I can add my contact form to the page.
Contact Form
I'm going to use the form_for helper, specifying the resource name this form will be designed for, and pointing to the path that it'll send my data to.
By default, It will try to send a POST request to my server, so we're going to add a corresponding action handling it very soon.
For now let me just add two fields, one for email, and one for the actual message people will try to send to me.
<%= form_for("contact", routes.path(:contact), class: "form-horizontal") do |f| %>
  <div class="field">
    <%= f.label "email", class: 'label' %>
    <%= f.email_field "email", class: "input" %>
  </div>
  <div class="field">
    <%= f.label "message", class: "label" %>
    <%= f.text_area "message", class: "textarea" %>
  </div>
  <div class="field">
    <%= f.submit "Create", class: "button is-link" %>
  </div>
<% end %>
All those HTML classes are just for making it look pretty, you'll probably want to adjust them to your own needs of course.
Finally, I'll add the submit button, using the submit helper called on my form object.
With this, my form is ready for basic usage.
 Contact form page
Post Action
Of course, to make it work, I need to add the POST action to my page, that will serve under the /contact path.
First I'll add the route to the config, and then the action. I could use the generator here as I've shown in episode 18 but I never was a big fan of generators however useful they are.
# slices/main/config/routes.rb

post "/contact", to: "contact.send", as: 'contact'
Then in the action file, I'll use the before callback, to deserialize my form input parameters.
# slices/main/actions/contact/send.rb

module Main
  module Actions
    module Contact
      class Send < Main::Action
        before :deserialize

        def handle(request, response)
          pp response[:contact]
          response.redirect routes.path(:contact)
        end

        private

        def deserialize(request, response)
          response[:contact] = request.params[:contact]
        end
      end
    end
  end
end
Having that done, I'll print my input parameters on the screen and then redirect to the standard contact page.
 Logs for form params
All works! Great! However, we can do better to handle my form data in all cases.
Showing form errors
If I'll fill my form correctly, all is fine, but I'd love to have my fields set to required and validate against incorrect values, properly showing the error to the user.
In that case, I'll also want to have my input values preserved after submitting the form, so let's do it all.
Action validation
First, I'm going to define basic input validations using the params block.
Let's just set both email and message inputs as required to be filled in, and wrapped by a contact object.
# slices/main/actions/contact/send.rb

params do
  required(:contact).schema do
    required(:email).filled(:str?)
    required(:message).filled(:str?)
  end
end
Having that, I can add the before block and handle this validation check.
before :deserialize, :validate

# ...

private

def validate(request, response)
  return if request.params.valid?
   # handle invalid requests here
end
With this, in case my parameters are valid, my action will just continue normally, but in case of failure, I want to render the show view of my contact enriched by the error messages and contact object.
Because I don't have a view defined for the send action, my view variable will be empty and because I want to use my contact show view, I'm going to import it as a dependency
include Deps[
 failure_view: 'views.contact.show'
]
Now in my validation method, I can render this, passing some input data to expose them in the template later.
I'll pass the contact object, and the errors hash, and after that I'll halt the further processing, rendering the page with the 422 HTTP status code and the rendered body.
  errors = request.params.errors

  body = response.render(
    failure_view,
    contact: response[:contact],
    errors: errors[:contact]
  )
  halt 422, body
end
Now let me jump into the view.
Preserving form input data
Here I'm going to add two new exposures and set the default value to them to be sure my templates won't need to deal with nil values.
# slices/main/views/contact/show.html.erb

expose :contact, default: {}
expose :errors, default: {}
Now I can access both of my variables in the template itself. To preserve the value of the input, I'll set the value option to email extracted from the contact's hash. Then I'll repeat the same for the message input.
<%= f.email_field "email", value: contact[:email], class: "input" %>
<%= f.text_area "message", value: contact[:message], class: "textarea" %>
With this, below, I'm going to show the errors for the given field. No prettifying at this point, let's just check what will happen when I'll render the raw error messages.
<%= errors[:email] %>
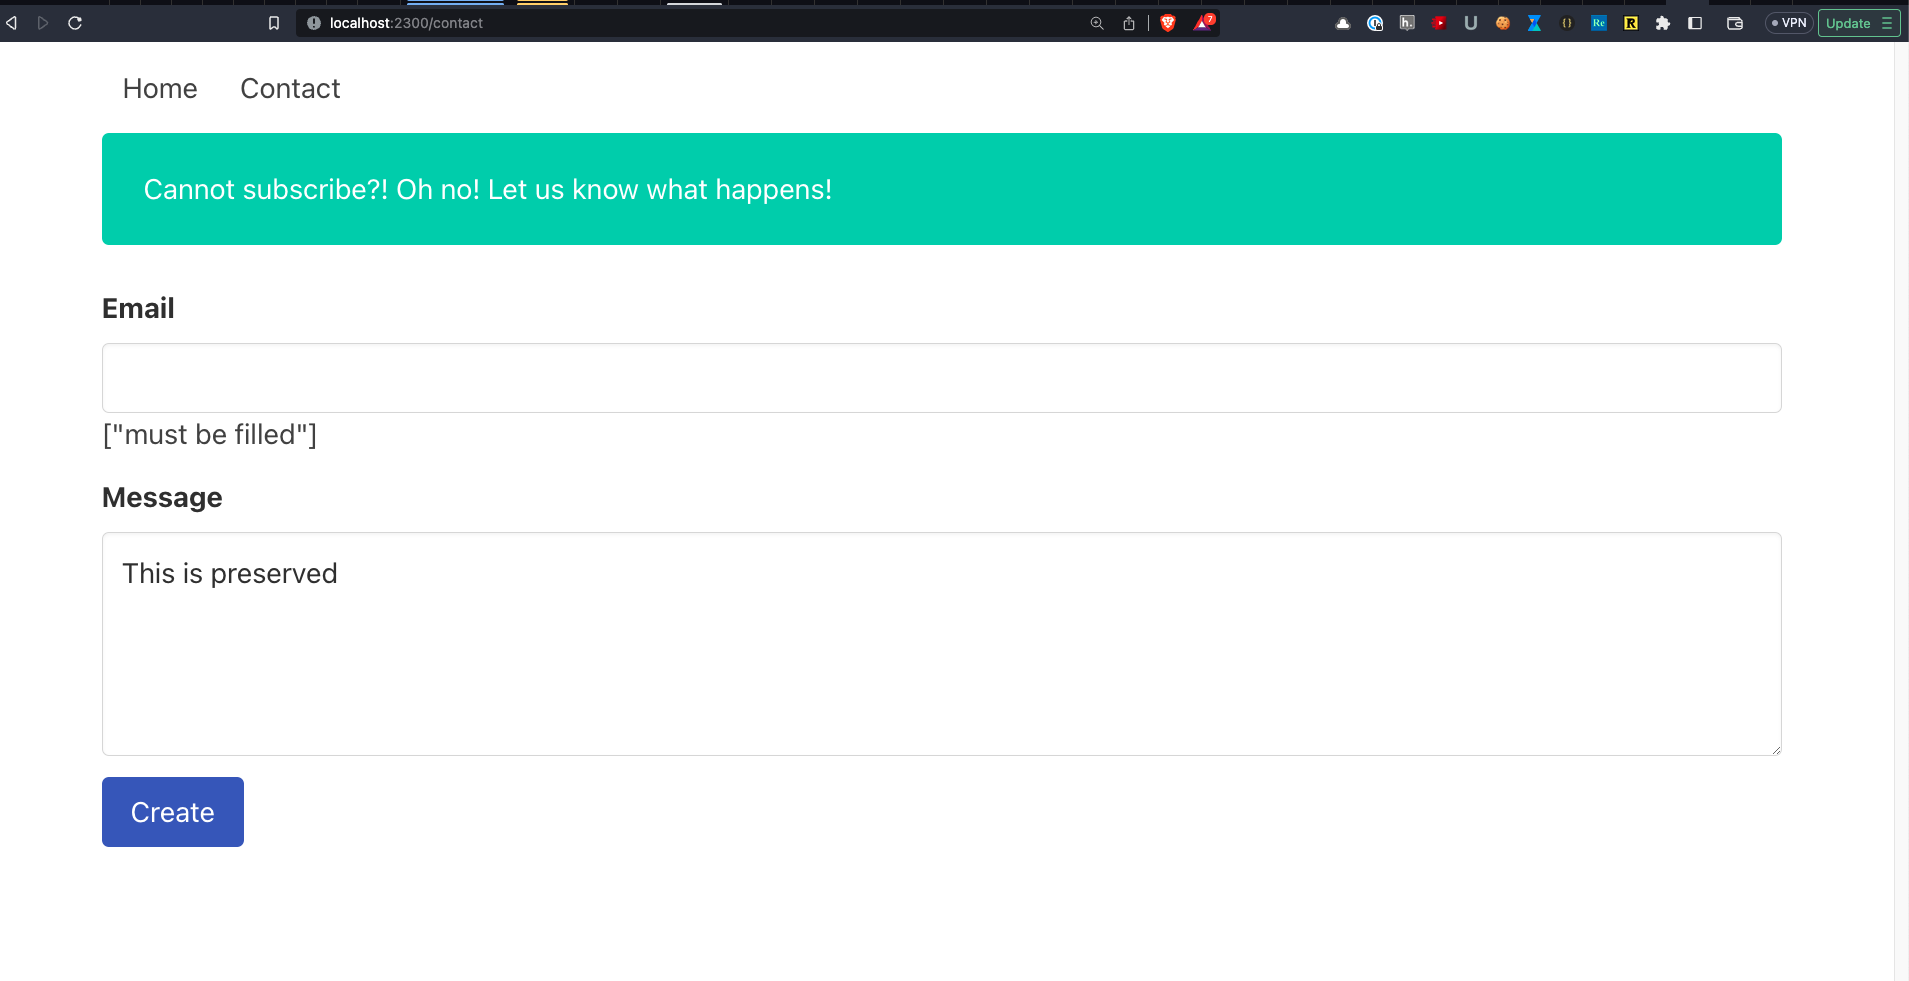
When I visit the browser now, you'll see that my field values are preserved, but the errors presentation could be done better.
 Unstyled validations view
Let's take care of this next
Rendering better errors
I'm going to create a partial for my form input errors, which will accept an error message, and will wrap it in a properly styled paragraph.
# slices/main/templates/contact/_form_error.html.erb
<p class='help is-danger'><%= message %></p>
Now to render it, I'd need to visit back the template page and call a render method, passing in a partial name, and the locals, which in this case, is a message string.
# slices/main/templates/contact/show.html.erb
<%= render :form_error, message: errors[:email]) %>
I want the error message to be properly formatted, so if you've ever seen views in Rails, you may expect that I'll just add some formatting logic to the argument, and that's it.
Sure thing, this will work. Sort of.
<%= render :form_error, message: errors[:email].join(', ') %>
In case there are no errors in the email, the value here will be nil, so my application will crash.
It's ok, though, I can add one more method, forcing string transformation before calling join.
<%= render :form_error, message: errors[:email].to_s.join(', ') %>
But it's just bad because of two reasons.
- Ruby logic leaks to views
- When an error is empty, I'll still render the paragraph and adding
ifstatement will leak even more logic to templates. - This is bug-prone and harder to test.
So how can we improve on this?
First of all, let me decorate my errors
Decorating errors with Parts
Hanami has a built-in solution for decorating dynamic data in templates, and it's done using an abstraction named parts.
Part is a ruby object that encapsulates decoration logic for parts of views, in this case, an error message.
Each exposed method in the view is wrapped by a corresponding part object. If the part for the given exposure does not exist, it's wrapped by the general Hanami::View::Part instance, and all the methods on that object are passed to the original value using method_missing mechanics.
How that can be helpful?
Let me show you.
Form errors Part object
In my views folder, I'll create a new one, named parts. Inside, I'll create the Errors part class, which inherits from the general part for the main slice.
# slices/main/views/parts/errors.rb

module Main
  module Views
    module Parts
      class Errors < Part
        def message(key)
          msgs = value[key] || []
          msgs.join(", ")
        end
      end
    end
  end
end
Within this class, I'm going to define a message method, that accepts the error field name.
I can now extract here the logic related to joining my error messages, test this in isolation, and document using inline documentation if needed!
My view gets simpler, but this still does not resolve the conditional rendering error.
<%= render :form_error, message: errors.message(:email) %>
Fortunately, I can also render the partial from within the part's method, and add all the conditional rules here!
In case the message is empty, I'll just return the empty string, so it'll never affect my HTML document, and only if I get the error, I'll render the proper partial.
def message(key)
  msgs = value[key] || []
  msg = msgs.to_s.join(", ")
  return msg if msg.empty?

  render :form_error, message: msg
end
Now I can simplify my view quite a lot, getting rid of the whole logic, and making sure my views have no room for random errors.
# slices/main/views/contact/show.html.erb
<%= errors.message(:email) %>
I hope you're excited as I am, and if not, try out hanami views to check it out yourself.
Summary
The built-in solution of extended view architecture in Hanami allows us to create very complex applications because no matter how much they scale, our templates can still stay simple, easy to change and modify, with frontend developers barely noticing Ruby.
We can extract all our logic to pure ruby objects, that have no dependencies and can be tested in isolation, which makes our apps more reliable and gives us more fun when working with them.
Unfortunately, that's all I have for you today, but stay tuned for the next episode, where I'll implement the actual email sending functionality.
I hope you've enjoyed this episode, and if you want to see more content in this fashion, Subscribe to my YT channel, Newsletter and follow me on Twitter!
Thanks
I want to especially thank my recent sponsors,
and all the Hanami Mastery PRO subscirbers, for supporting this project, I really appreciate it!
Consider sponsoring?
If you want to support us, check out our Github sponsors page or join Hanami Mastery PRO to gain the access to more learning resources and our private discord server!
Add your suggestion to our discussion panel!
I'll gladly cover them in the future episodes! Thank you!

